


Creating a DIY pool heater using a camping water heater is a cost-effective way to extend the swimming season and enjoy warmer water temperatures. By following a step-by-step guide, you can easily build and install a pool heater that is efficient and environmentally friendly. In this article, we will walk you through the process of creating a DIY pool heater with a camping water heater, from gathering the materials to testing and adjusting the temperature.
Key Takeaways
- Choosing a suitable location for the pool heater is essential for maximizing its efficiency.
- Regular maintenance and cleaning of the pool are important for the overall effectiveness of the DIY pool heater.
- Insulating the system, including the pipes and water heater, is crucial for retaining heat and optimizing energy usage.
- Monitoring and adjusting the temperature of the pool water ensures a comfortable and enjoyable swimming experience.
- Safety precautions, such as proper installation and maintenance, should always be followed when using a DIY pool heater.
Materials Needed

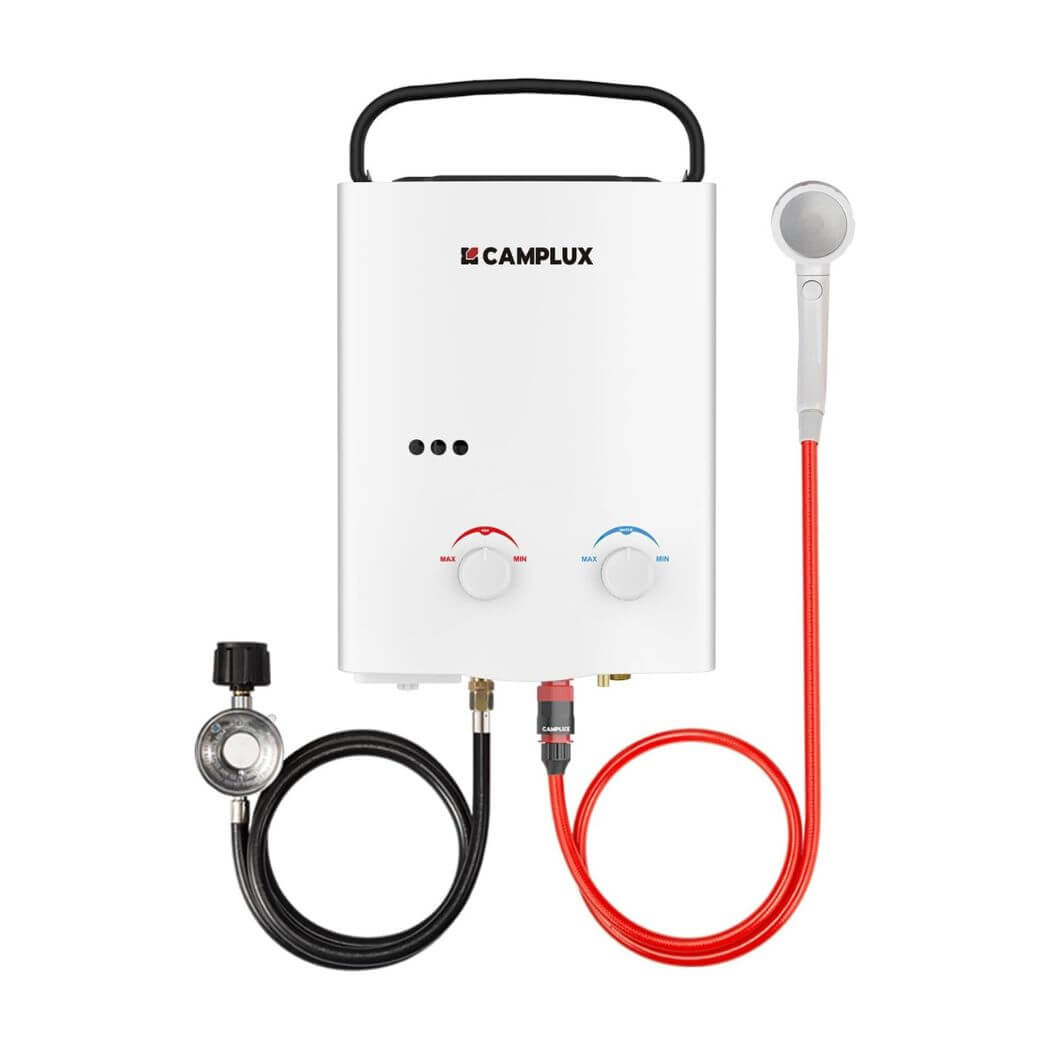
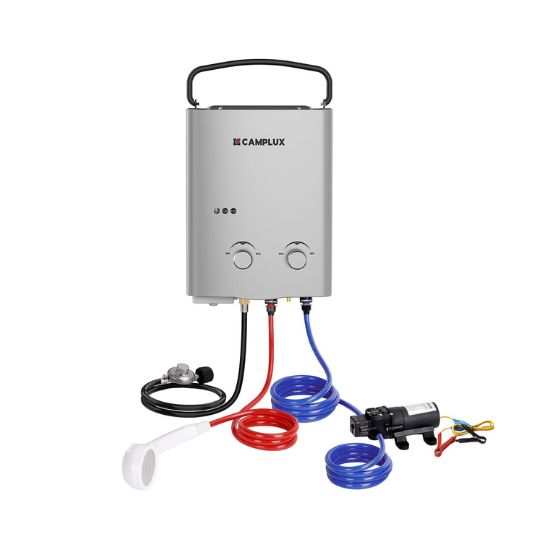
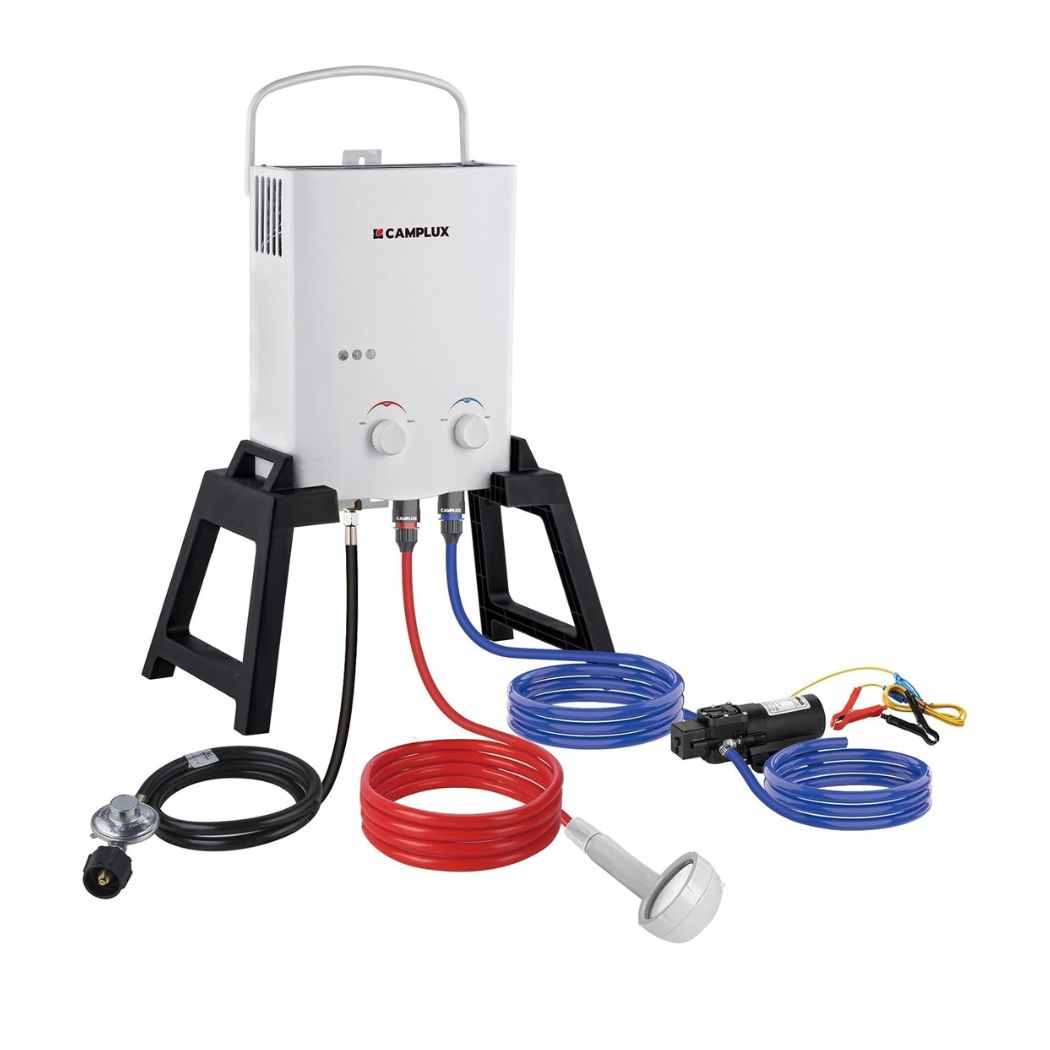
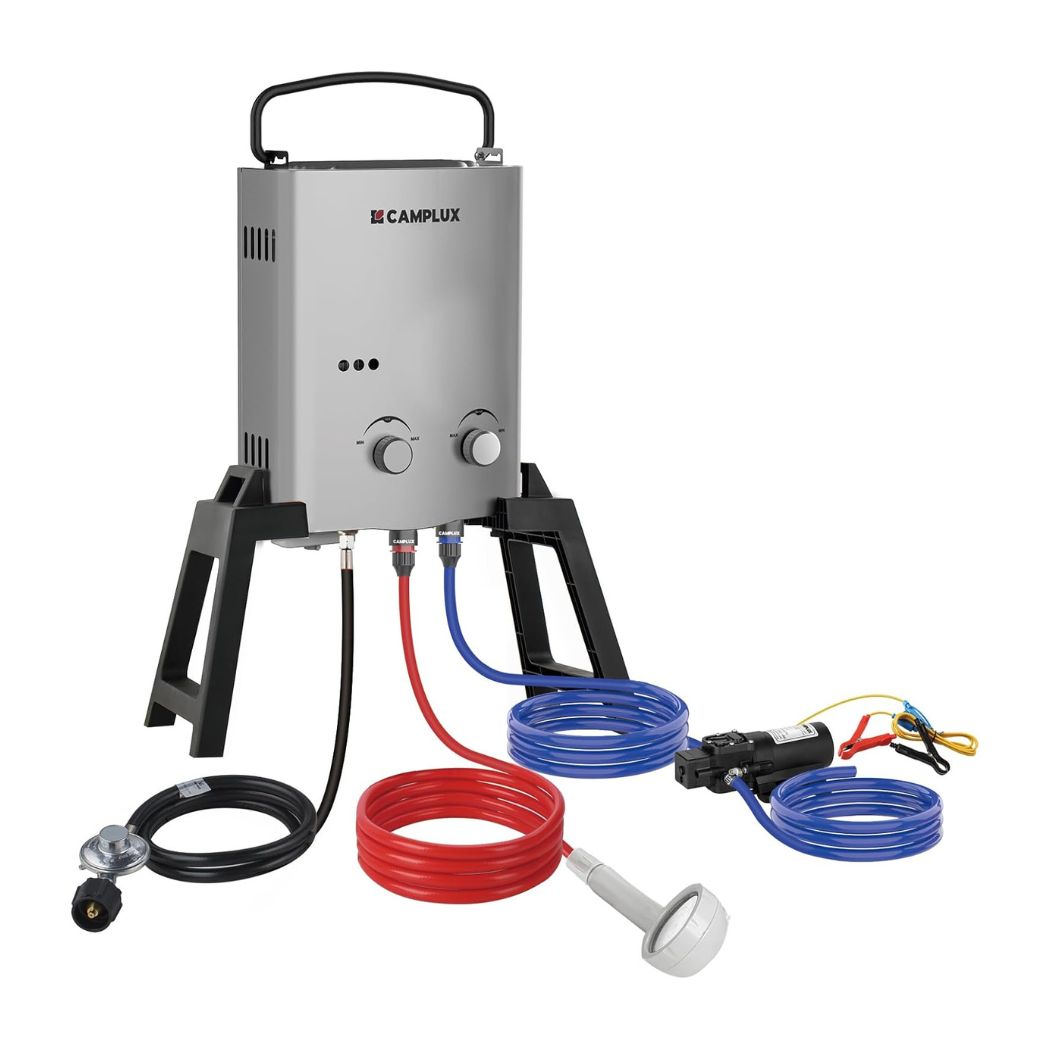
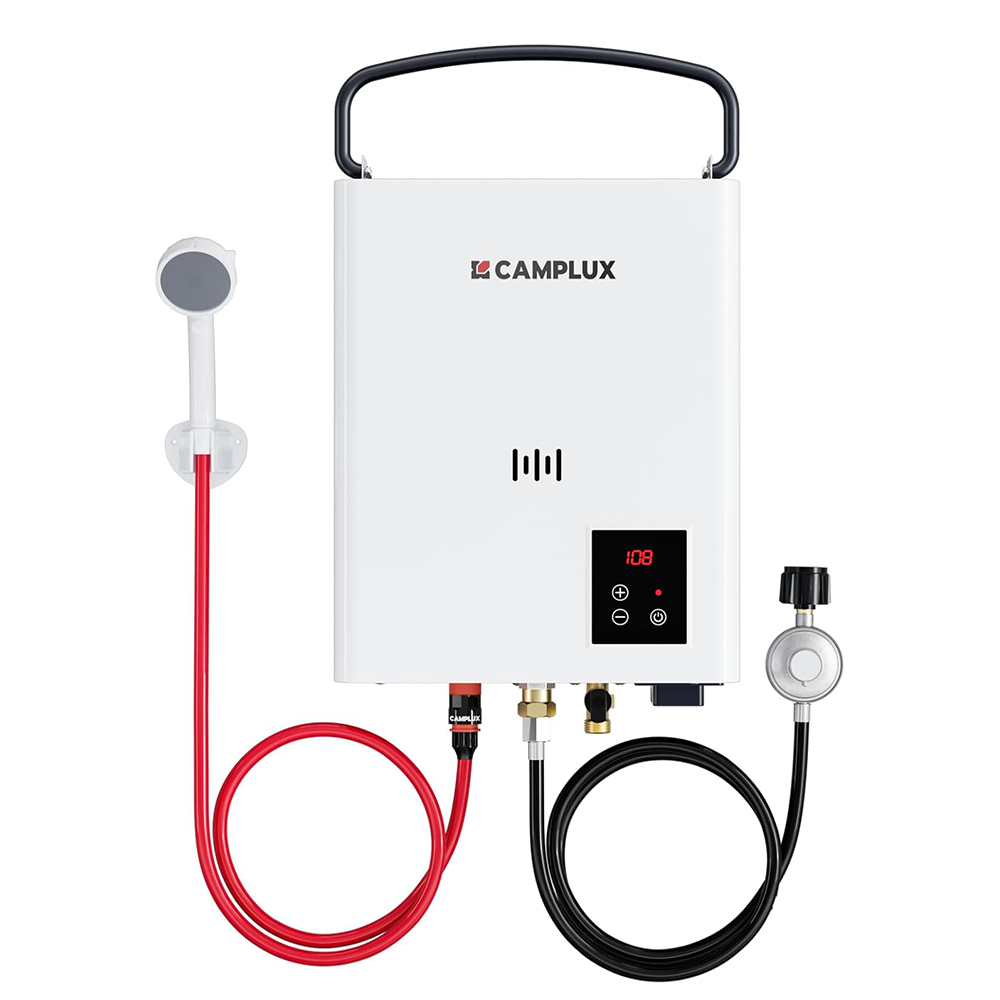
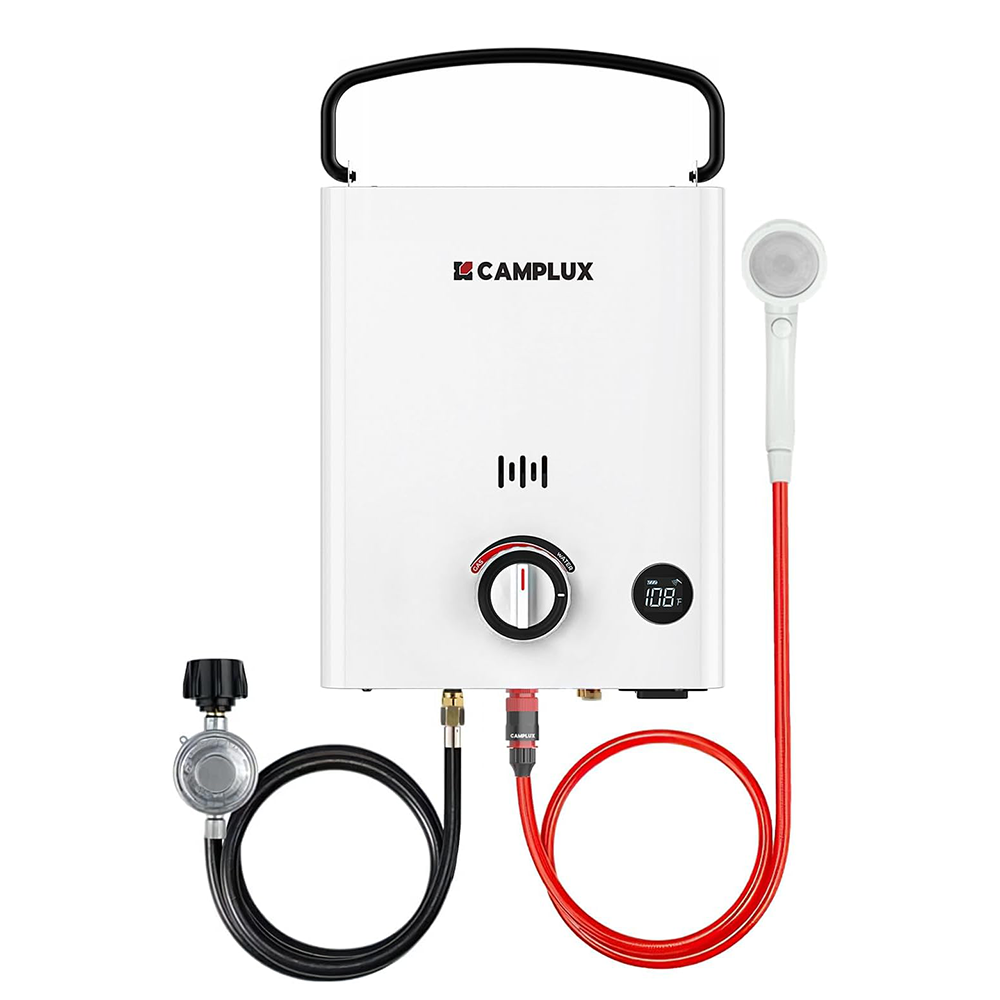
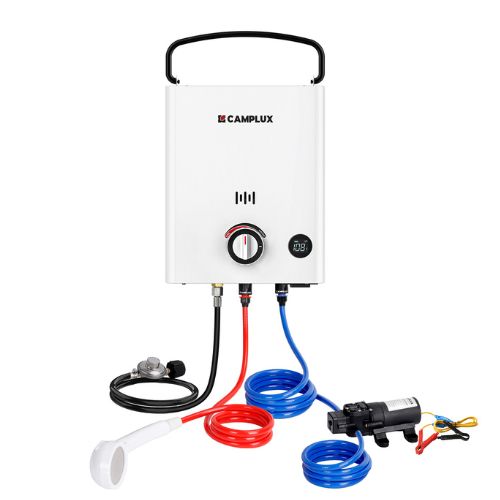
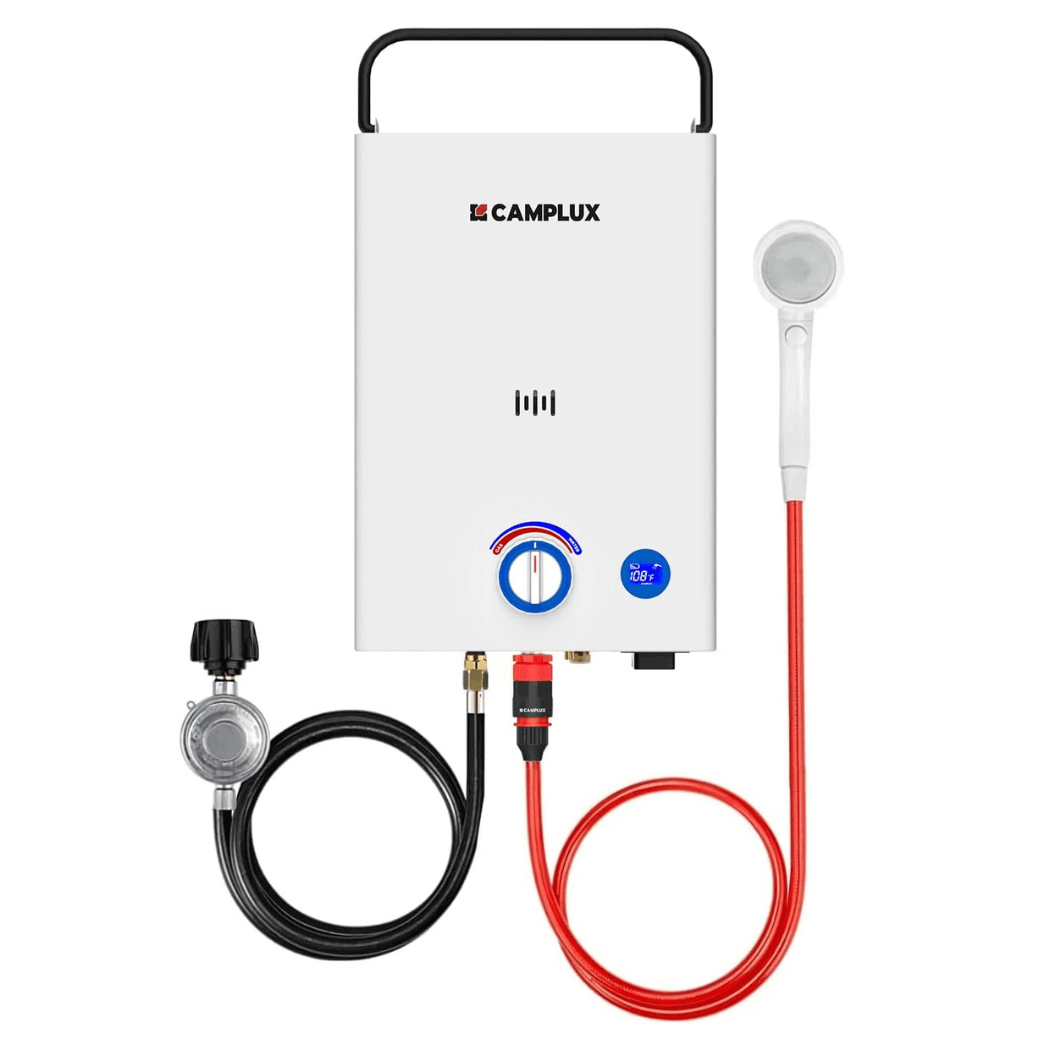
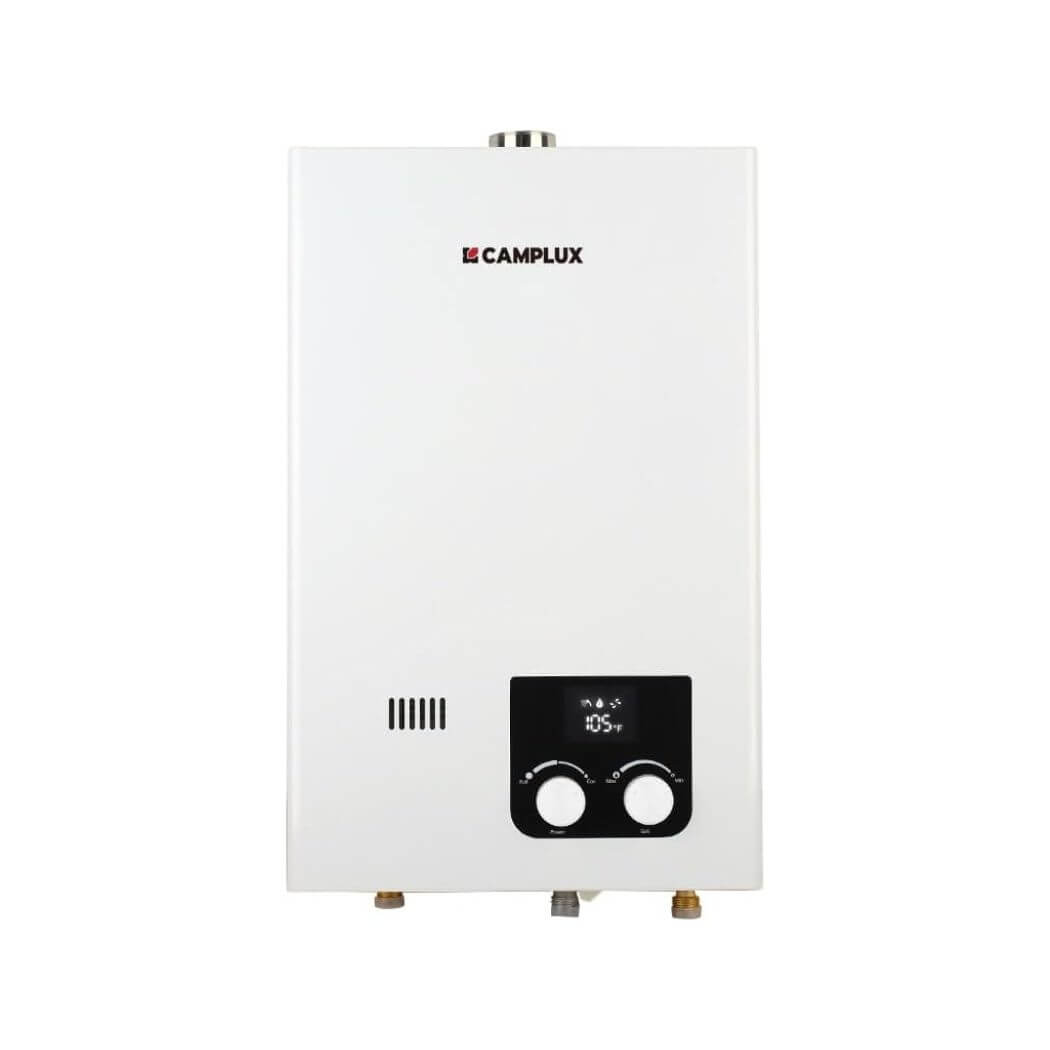
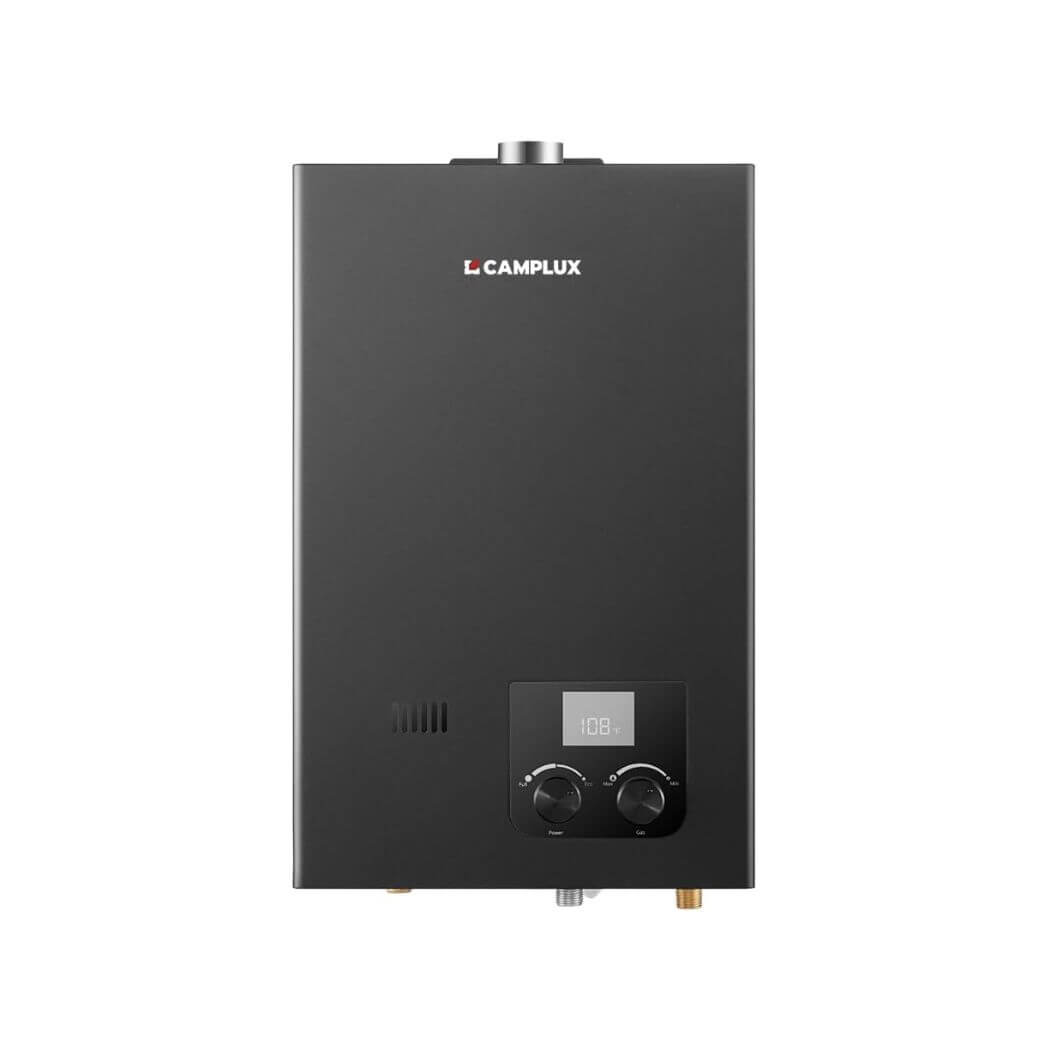
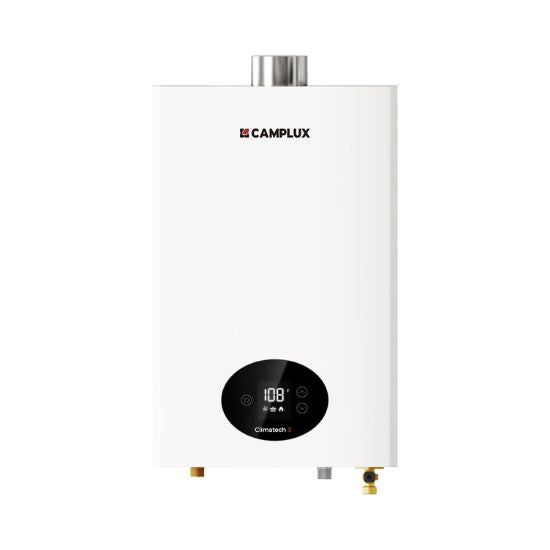
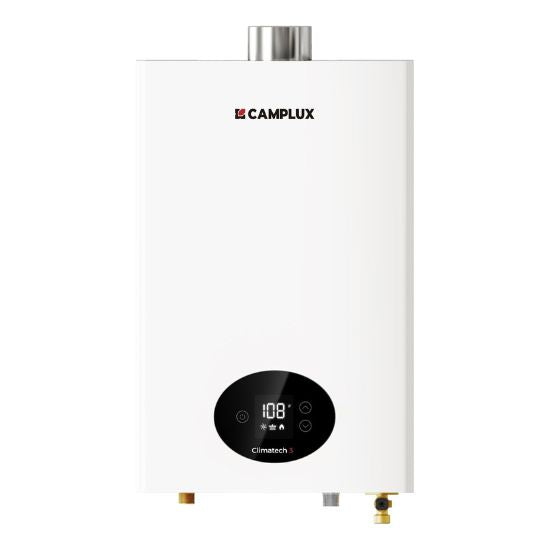
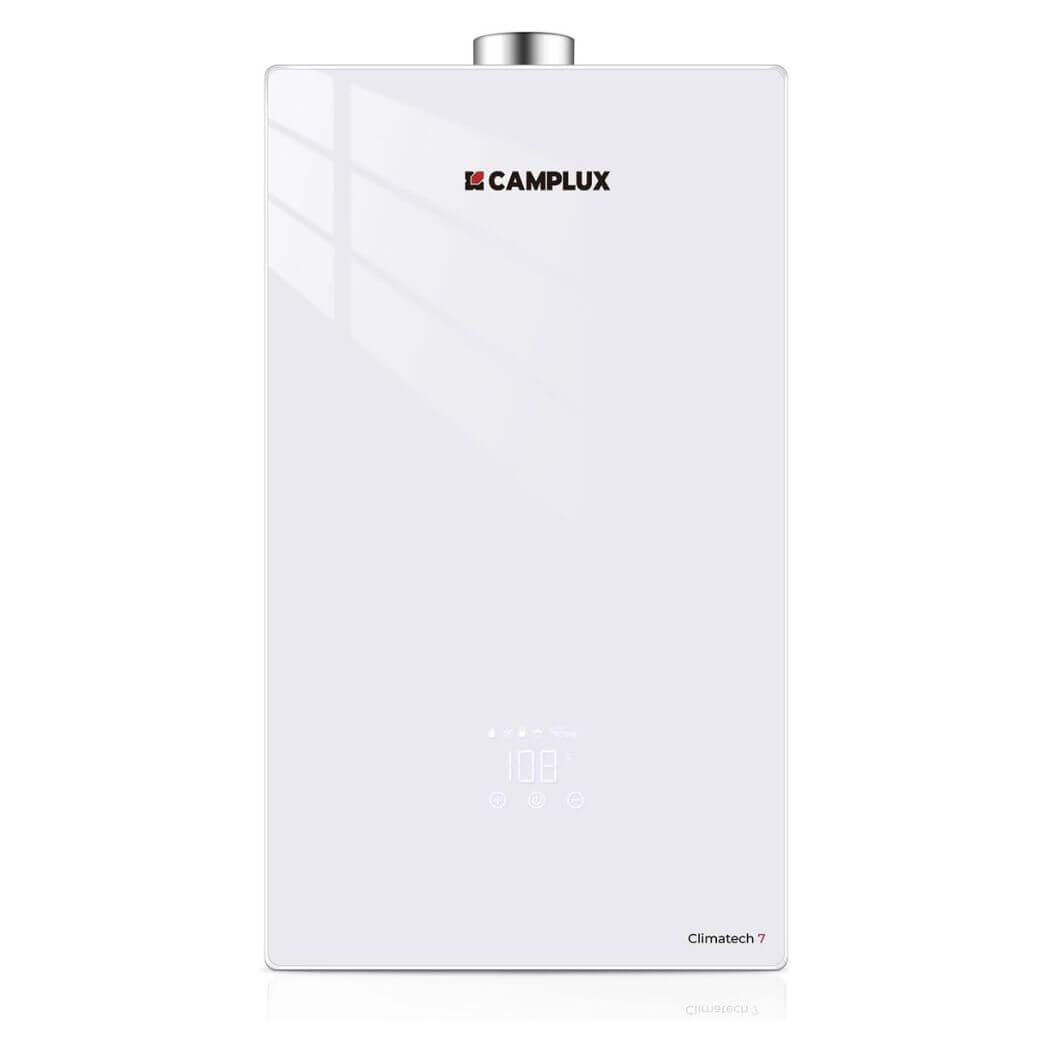
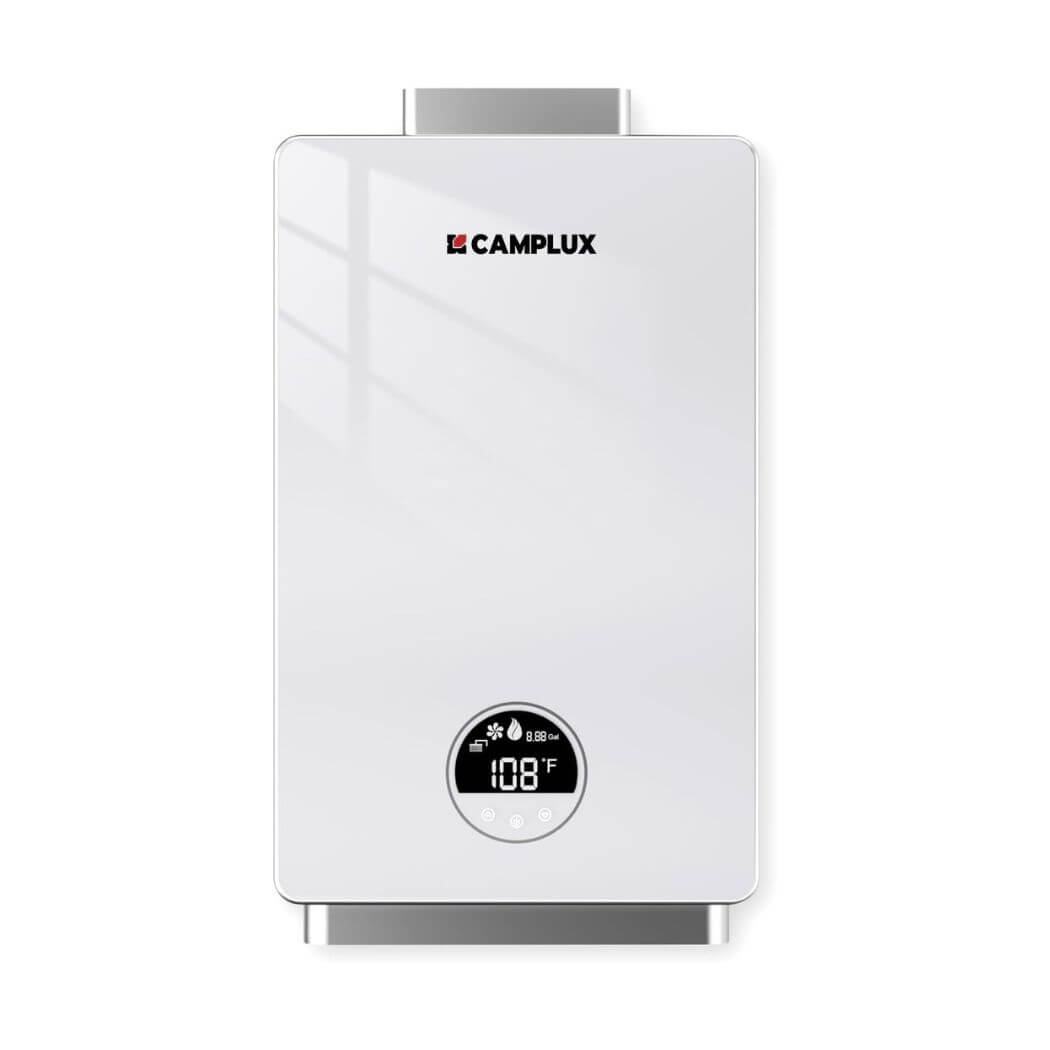
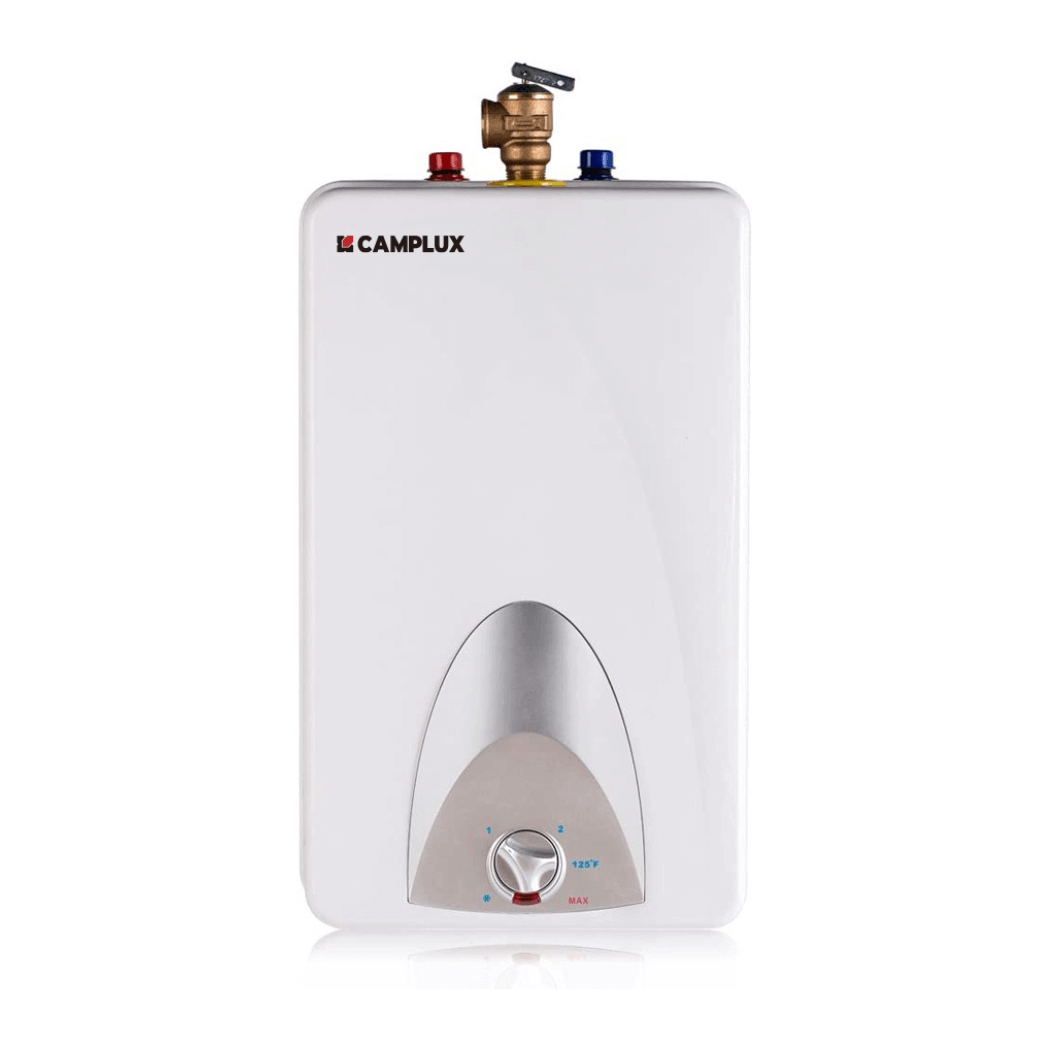
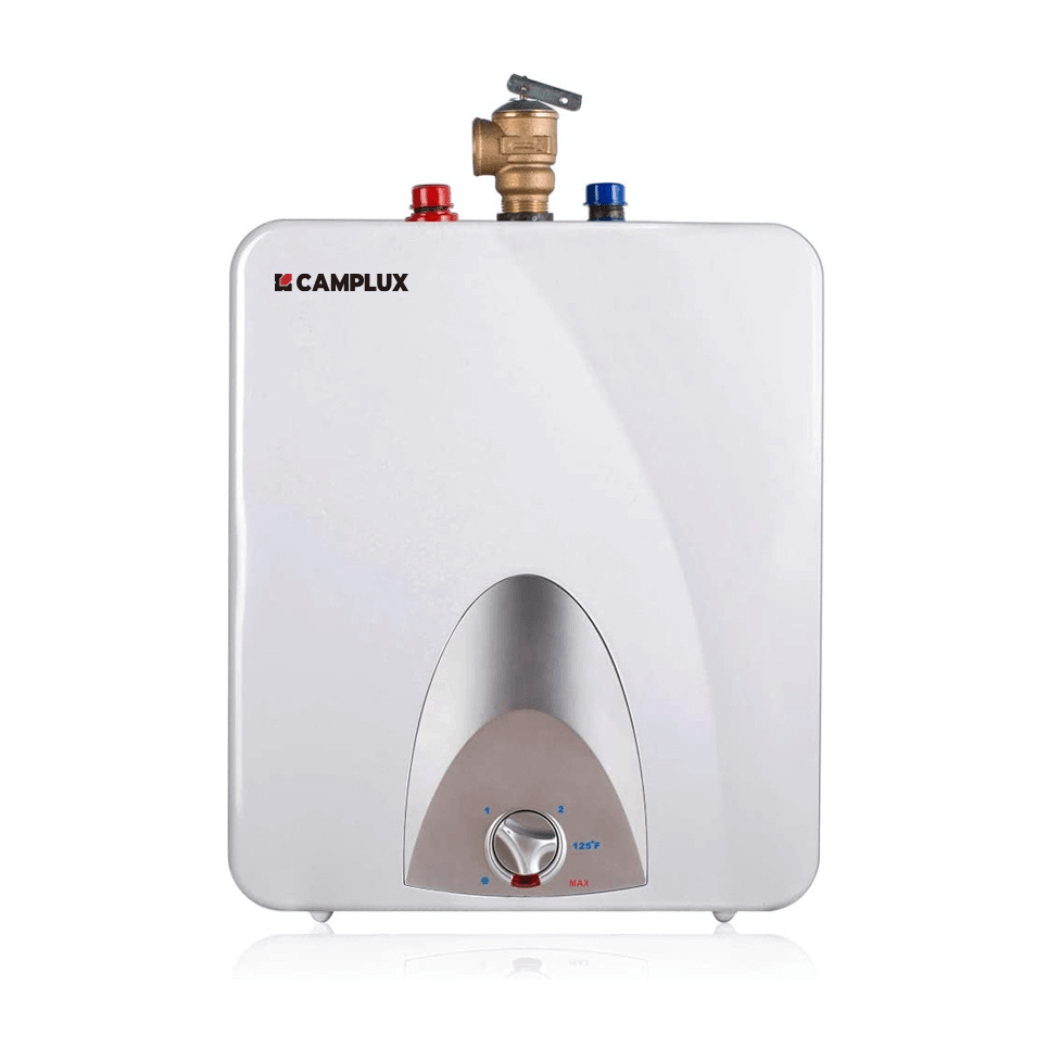
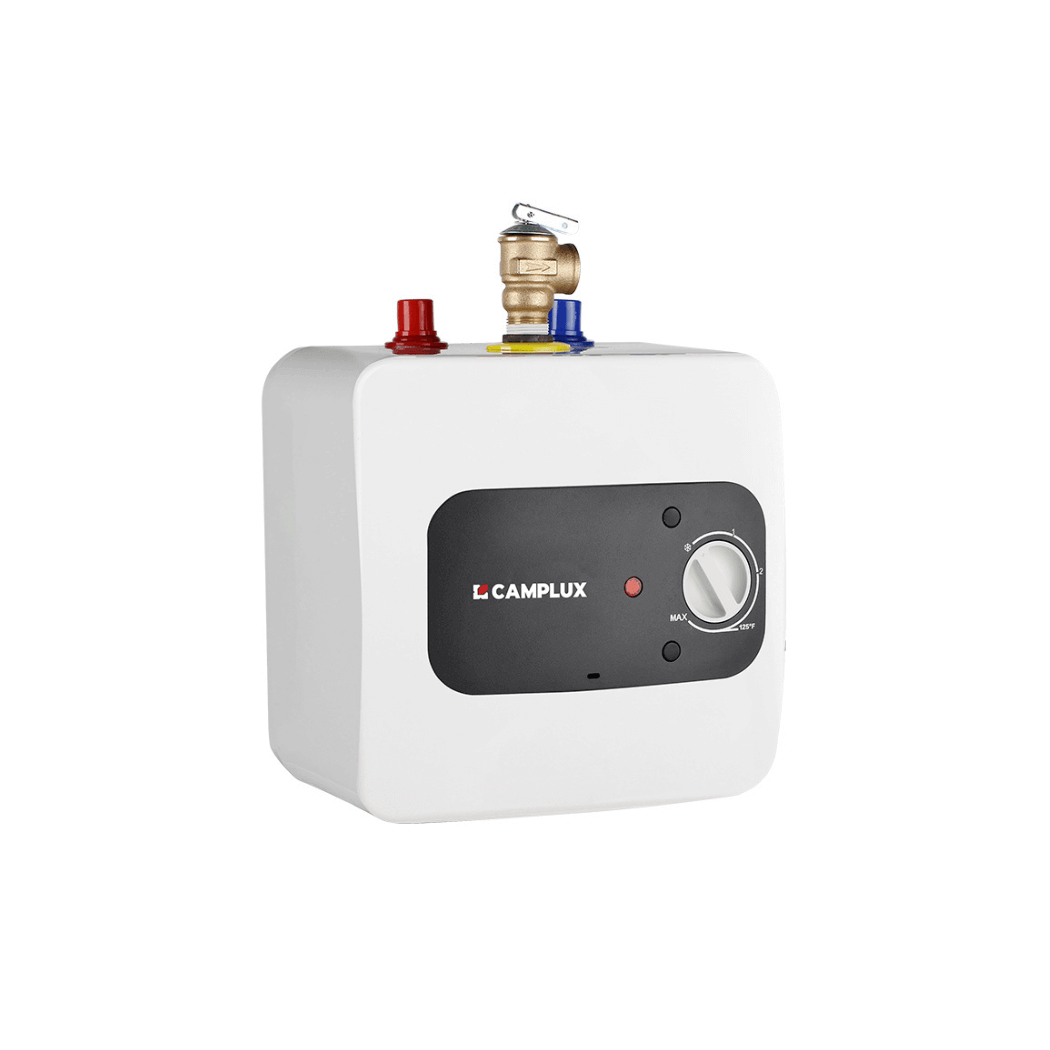
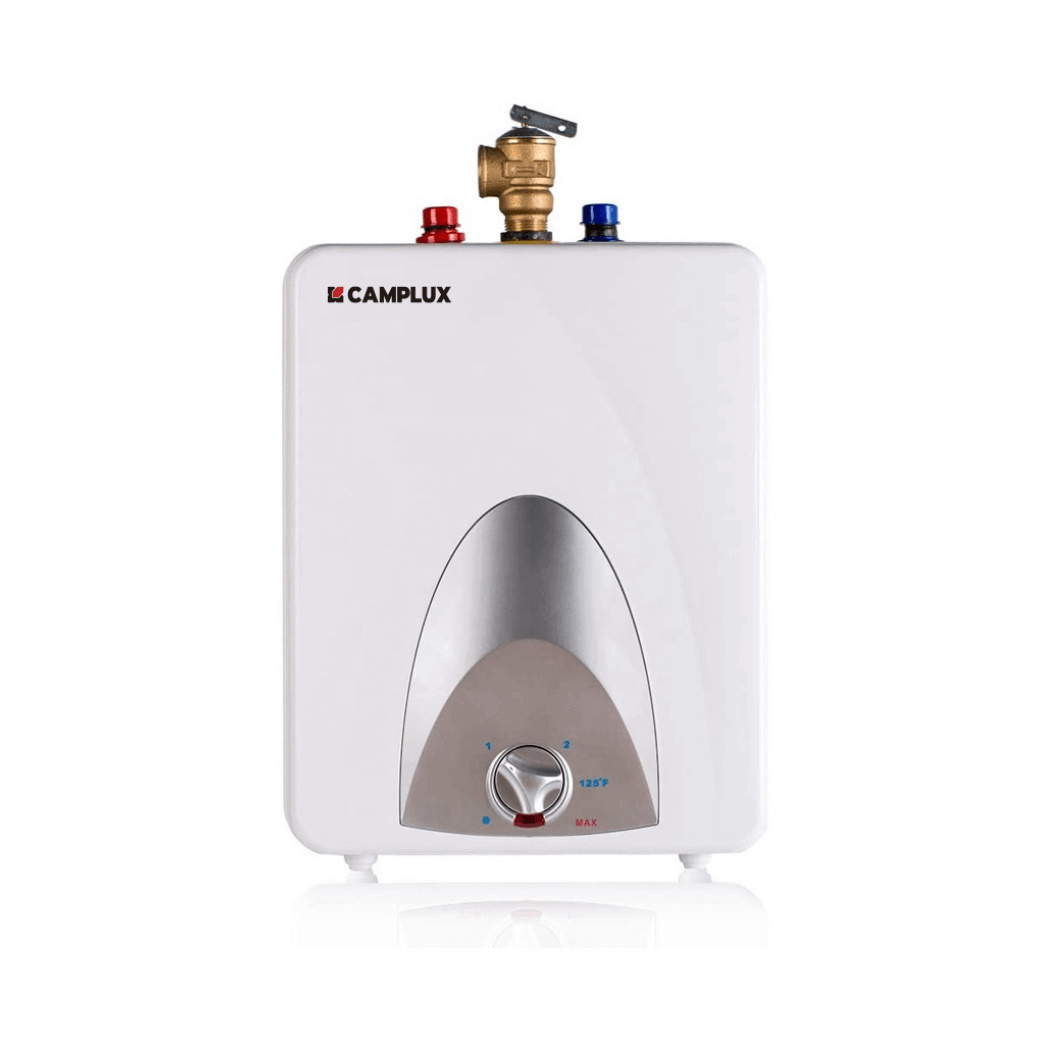
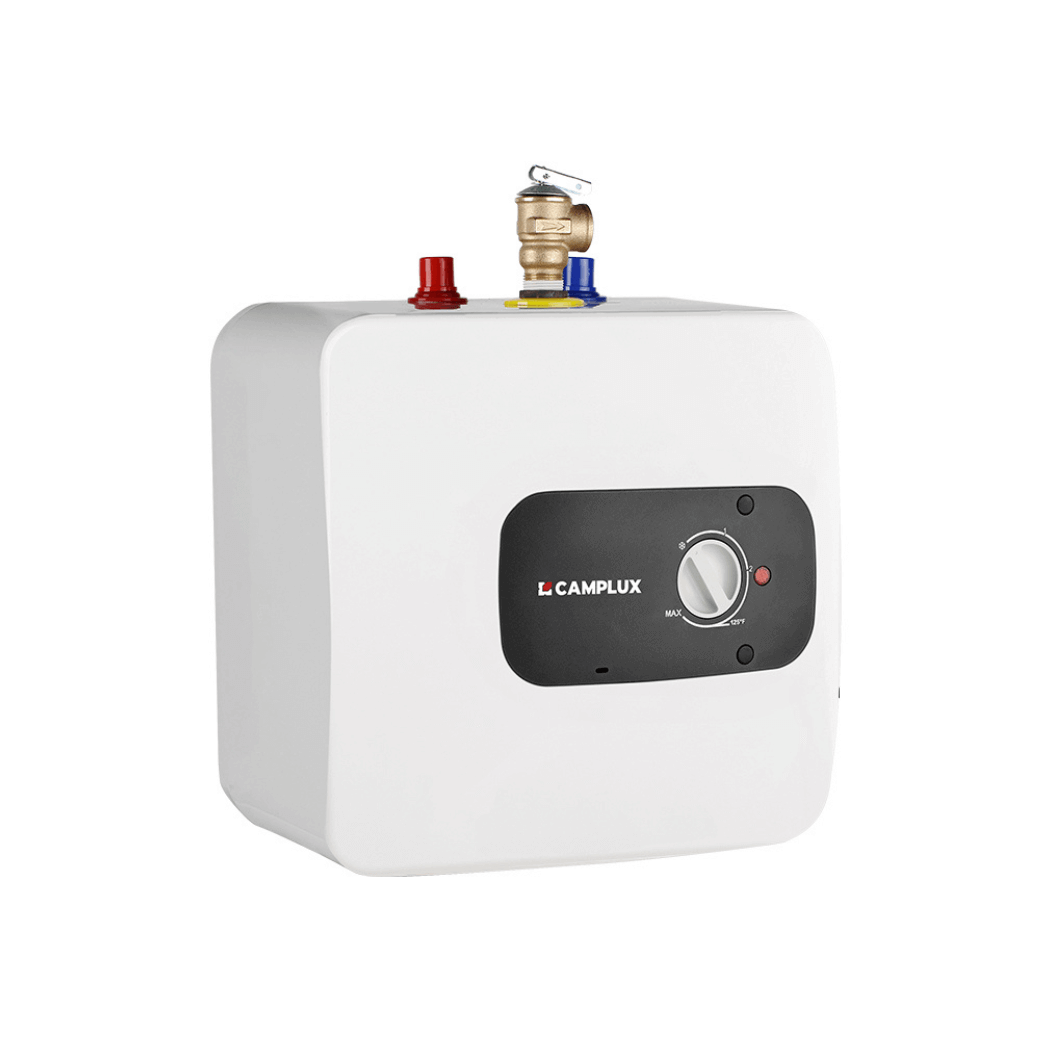
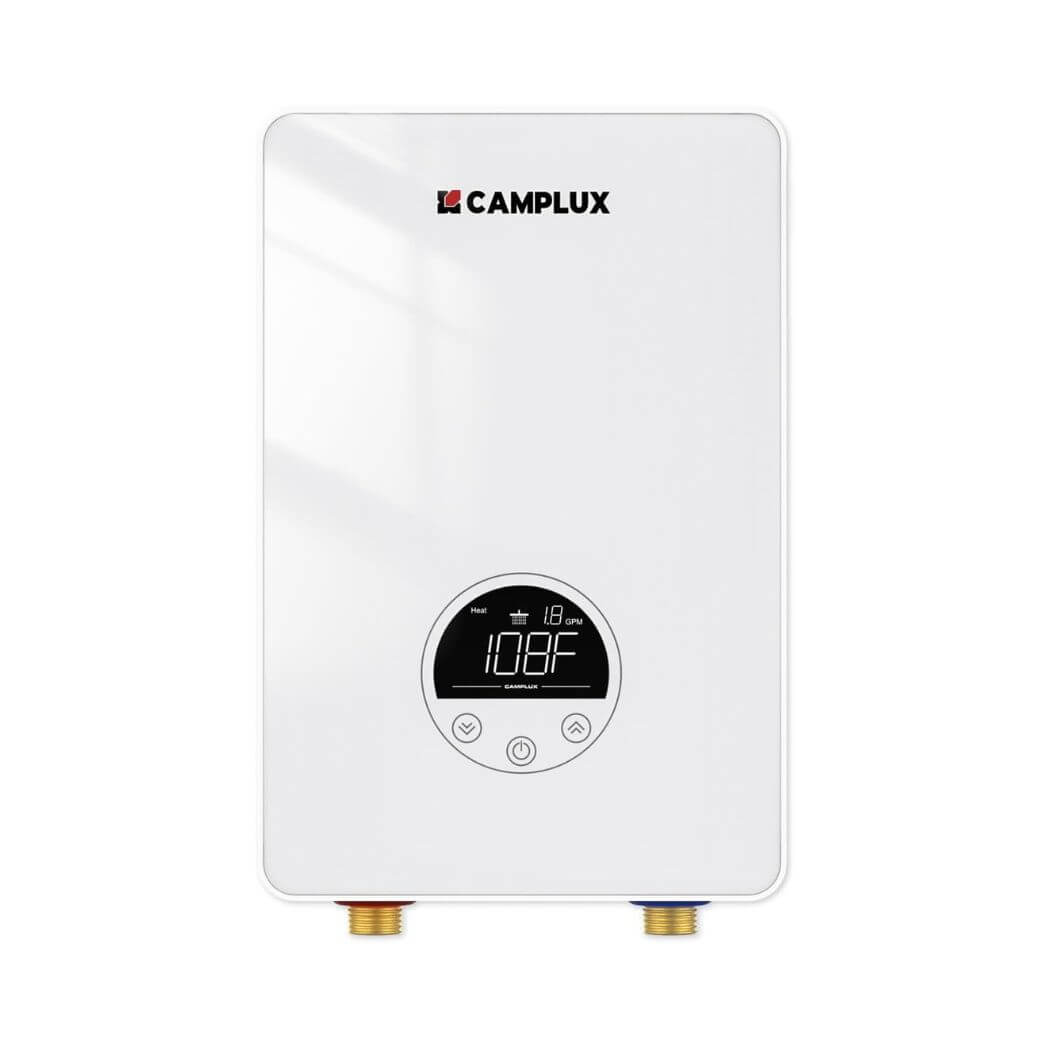
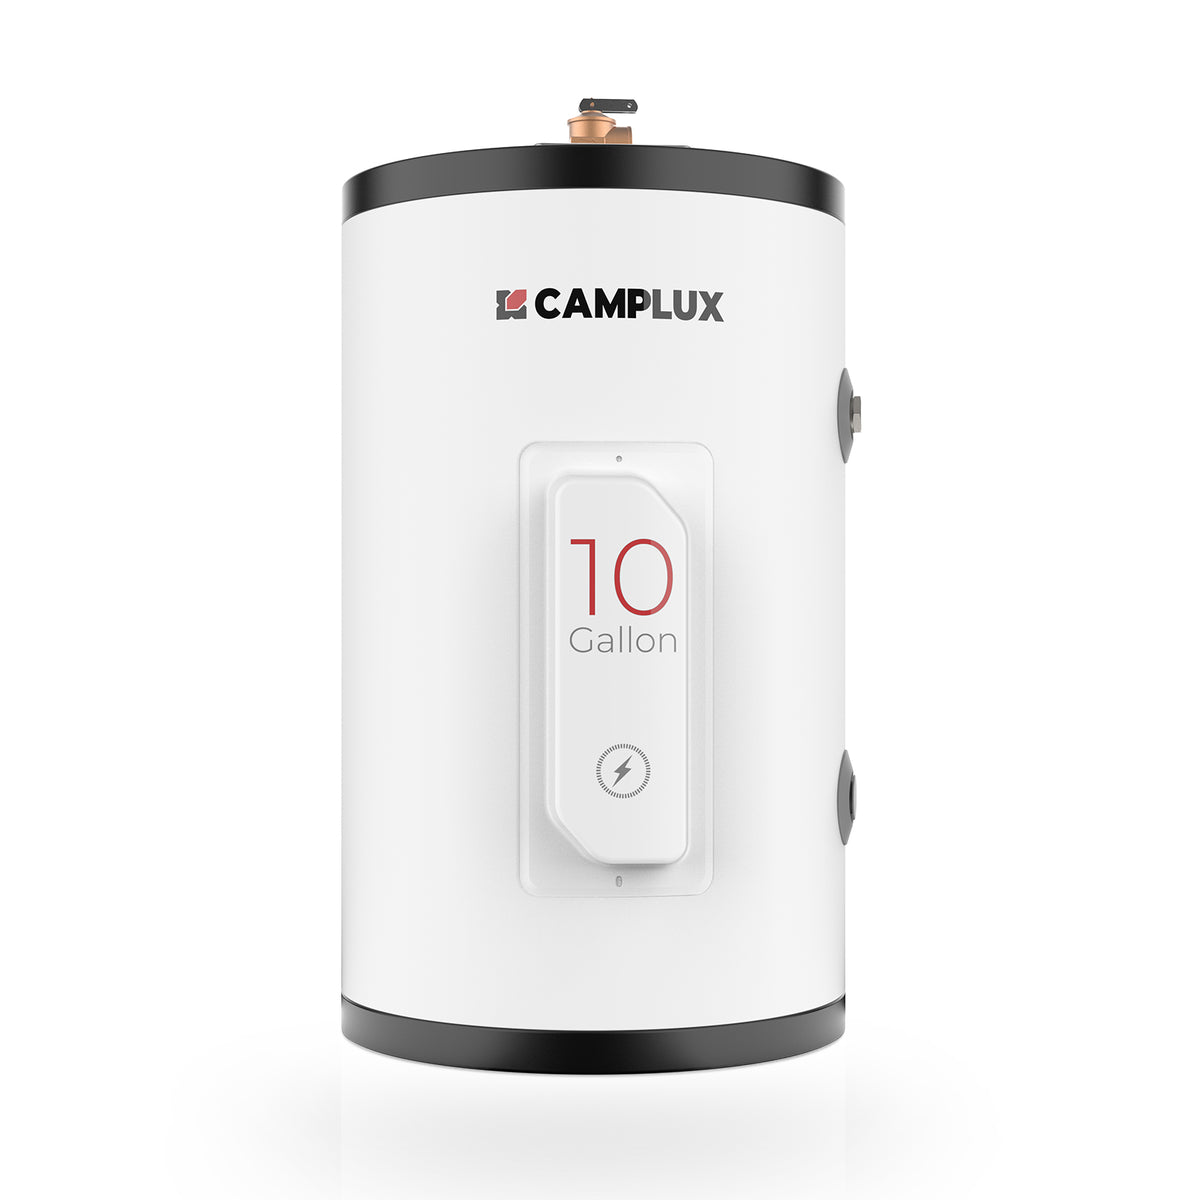
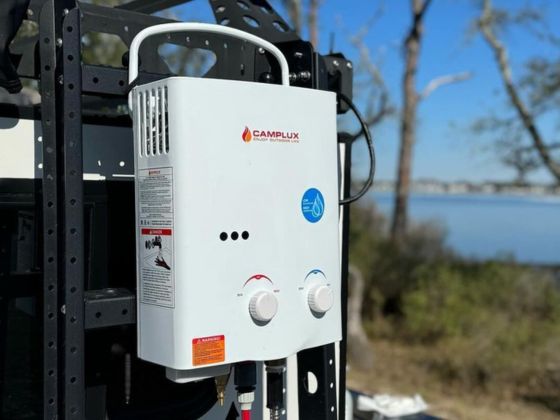
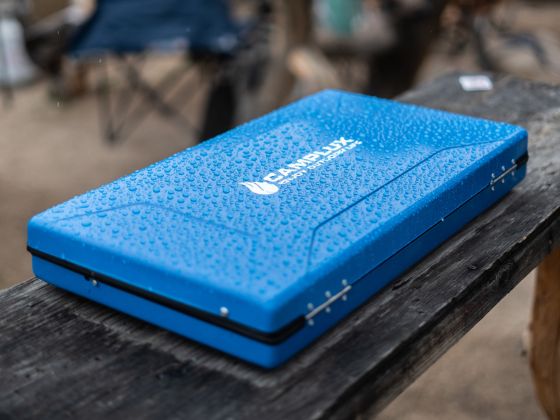
Camping Water Heater
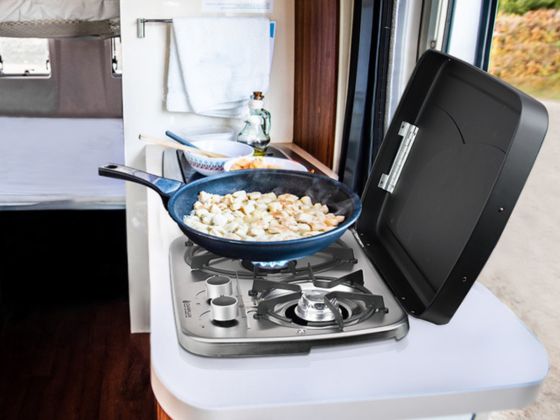
To create a DIY pool heater, the first step is to gather all the necessary materials. One of the key components you will need is a camping water heater. This portable device is designed to heat water quickly and efficiently, making it perfect for heating your pool. Make sure to choose a high-quality camping water heater that is suitable for your pool size and meets your heating needs. It is important to consider factors such as heating capacity, fuel type, and safety features when selecting a camping water heater.
Once you have chosen the right camping water heater, you can proceed with the next steps in building your DIY pool heater.
PVC Pipes
When selecting the PVC pipes for your DIY pool heater, it is important to choose pipes that are durable and resistant to high temperatures. Durability is crucial as the pipes will be exposed to water and heat for an extended period of time. Additionally, ensure that the pipes have a sufficient diameter to allow for proper water flow. This will help optimize the heating process and ensure that the water circulates efficiently through the system.
To determine the appropriate pipe diameter, consider the size of your pool and the flow rate of your pool pump. A larger pool or a higher flow rate may require larger diameter pipes to ensure adequate heating. Consult the manufacturer's guidelines or seek advice from a professional if you are unsure about the appropriate pipe size for your specific setup.
Remember to measure and mark the locations where the PVC pipes will be installed before proceeding with the assembly. This will help ensure accurate placement and prevent any issues during the construction process.
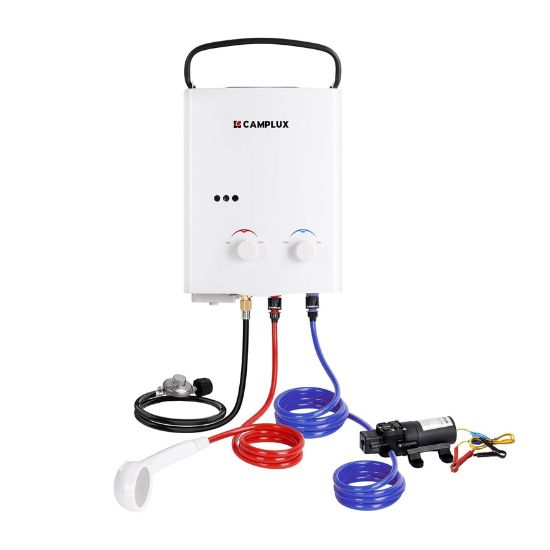
Pool Pump
After assembling the PVC pipes and connecting the camping water heater, the next step is to install the pool pump . The pool pump is responsible for circulating the water through the heater, ensuring that it is heated efficiently. To install the pool pump, follow these steps:
- Choose a suitable location for the pump near the pool.
- Connect the pump to the PVC pipes using appropriate connectors.
- Secure the pump in place using brackets or straps.
- Make sure the pump is properly aligned with the pipes.
- Test the pump to ensure it is working correctly.
Once the pool pump is installed, you can proceed to the next step of insulating the system.
Insulation Materials
Insulation materials are an essential component of your DIY pool heater. They help to retain heat and prevent heat loss, ensuring that your pool stays warm for longer periods. There are various types of insulation materials available, including foam insulation boards, bubble wrap, and thermal blankets. Foam insulation boards are a popular choice due to their excellent insulating properties. They can be easily cut and fitted around the PVC pipes and water heater. Bubble wrap is another cost-effective option that provides insulation by trapping air bubbles. Thermal blankets are specifically designed for pool insulation and can be placed directly on the water surface to minimize heat loss. It's important to choose the right insulation material based on your budget and the level of insulation required for your pool.
Preparing the Pool
Choose a Suitable Location
When choosing a location for your DIY pool heater, there are a few important factors to consider. First, ensure that the area receives ample sunlight throughout the day to maximize heat absorption. Additionally, select a spot that is easily accessible for maintenance and monitoring. It is also crucial to position the heater away from any trees or structures that may cast shadows and block the sunlight. Lastly, take into account the proximity to the pool pump and ensure that the location allows for easy connection and operation.
Clean the Pool
Before proceeding with the installation of the DIY pool heater, it is important to thoroughly clean the pool . This step ensures that the heater functions optimally and prevents any debris or dirt from clogging the system. Start by skimming the surface of the pool to remove any leaves or floating debris. Next, brush the walls of the pool to remove any algae or buildup. Vacuum the pool to remove any dirt or sediment that may have settled at the bottom. It is also important to empty the skimmer baskets and close the skimmer line valve. Finally, lower the water level to approximately 18 inches to prepare for the installation process.
Measure and Mark the Pipe Locations
Before proceeding with the installation of the PVC pipes, it is important to accurately measure and mark the locations where the pipes will be placed. This step ensures that the pipes are properly aligned and connected, resulting in an efficient pool heating system.
To measure the pipe locations, you will need a marker or pencil to mark the measurement points on the pipe or record the measurements on paper. This will help you maintain accuracy throughout the installation process.
Once you have marked the measurement points, double-check the measurements to ensure they are correct. This will prevent any errors or misalignments when connecting the pipes.
Remember, precision is key when measuring and marking the pipe locations to ensure a successful DIY pool heater installation.
Building the Heater
Assemble the PVC Pipes
To assemble the PVC pipes, follow these steps:
- Start by laying out all the PVC pipes and fittings to ensure you have everything you need.
- Apply PVC primer to the ends of the pipes and fittings to clean and prepare them for bonding.
- Apply PVC cement to the primed ends and quickly join them together, twisting slightly to ensure a secure bond.
- Hold the pipes and fittings together for a few seconds to allow the cement to set.
Remember to work in a well-ventilated area and wear protective gloves when handling PVC primer and cement.
Tip: Double-check the alignment and connections of the PVC pipes before moving on to the next step.
Connect the Camping Water Heater
Once you have assembled the PVC pipes, it's time to connect the camping water heater. Make sure to follow these steps:
- Attach the propane hose to the heater and the propane tank.
- Ensure the connections are tight and secure.
- Check for any leaks by applying soapy water to the connections and looking for bubbles.
Remember to handle the propane tank with caution and follow all safety guidelines.
If you need more information on portable water heaters, consider reading the article titled 'Portable Water Heater: What You Need to Know Before You Buy'.
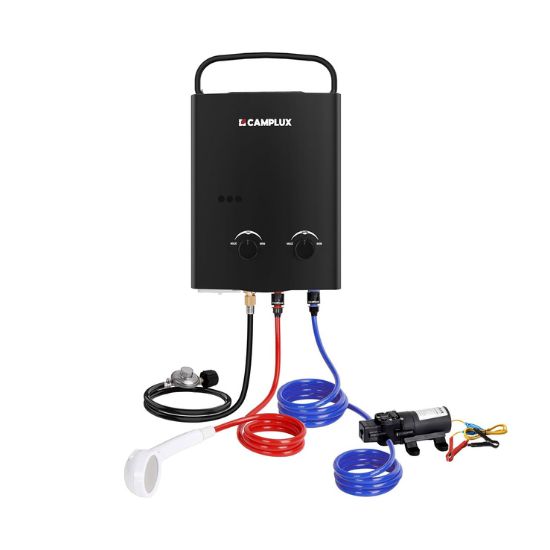
Install the Pool Pump
Once you have assembled the PVC pipes and connected the camping water heater, it's time to install the pool pump. The pool pump is an essential component of the DIY pool heater as it helps circulate water through the system. To install the pool pump, follow these steps:
- Choose a suitable location for the pump near the pool.
- Place the pump on a stable surface.
- Connect the pump to the PVC pipes using appropriate connectors.
- Secure the connections with hose clamps.
- Ensure that the pump is properly aligned with the pipes.
- Test the pump to ensure it is functioning correctly.
Remember to follow the manufacturer's instructions and safety guidelines when installing the pool pump.
Insulating the System
Wrap the Pipes with Insulation
After assembling the PVC pipes and connecting the camping water heater, the next step is to wrap the pipes with insulation. Insulating the pipes is important to prevent heat loss and maintain the desired temperature of the water. One recommended insulation product is the Frost King 2 in. x 15 ft. Foam and Foil Pipe Wrap Insulation Tape . This insulation tape features a one-step installation and can be used to insulate both hot and cold pipes. It provides effective insulation and helps to conserve energy.
To wrap the pipes with insulation tape, start at one end of the pipe and wrap the tape tightly around the pipe in a spiral motion. Make sure to overlap the tape slightly to ensure complete coverage. Continue wrapping the tape until the entire length of the pipe is covered. Pay extra attention to areas where the pipes are exposed or near the water heater, as these areas are more prone to heat loss.
Once the pipes are wrapped with insulation, it is important to secure the tape in place. Use adhesive or tape to secure the ends of the insulation tape and prevent it from unraveling. This will ensure that the insulation remains intact and effective.
After insulating the pipes, the next step is to insulate the camping water heater itself. This can be done by wrapping the water heater with insulation material such as fiberglass or foam insulation. This will help to retain the heat generated by the water heater and prevent heat loss. Make sure to cover all sides of the water heater, including the top and bottom.
Finally, cover the pool with a pool cover to further insulate the system. This will help to trap the heat inside the pool and prevent heat loss due to evaporation. Choose a pool cover that is specifically designed for insulation and make sure it fits securely over the pool.
By following these steps, you can effectively insulate the DIY pool heater system and optimize its performance.
Insulate the Water Heater
To ensure maximum efficiency and prevent heat loss, it is important to properly insulate the water heater. Here are some steps to follow:
-
Wrap the water heater with insulation material. This will help retain the heat generated by the camping water heater.
-
Use duct tape or zip ties to secure the insulation material in place. Make sure there are no gaps or openings where heat can escape.
-
Consider adding an additional layer of insulation for extra protection against heat loss.
-
Regularly check the insulation to ensure it is intact and in good condition.
Remember, proper insulation is key to maintaining the desired temperature of your DIY pool heater.
Cover the Pool
After assembling the PVC pipes, connecting the camping water heater, and installing the pool pump, the next step is to insulate the system. Insulation is important to prevent heat loss and maintain the desired temperature of the pool water. Here are the steps to insulate the system:
Testing and Adjusting
Fill the Pool with Water
Once you have completed all the necessary preparations, it's time to fill the pool with water. Follow these steps:
- Connect a garden hose to a water source and place the other end in the pool.
- Turn on the water and slowly fill the pool, ensuring that the water level reaches the desired height.
- Monitor the water level closely to prevent overfilling.
- Once the pool is filled, turn off the water source and remove the hose.
Remember to check for any leaks or issues with the pool's plumbing system during the filling process. It's important to have a properly filled pool before proceeding to the next steps.
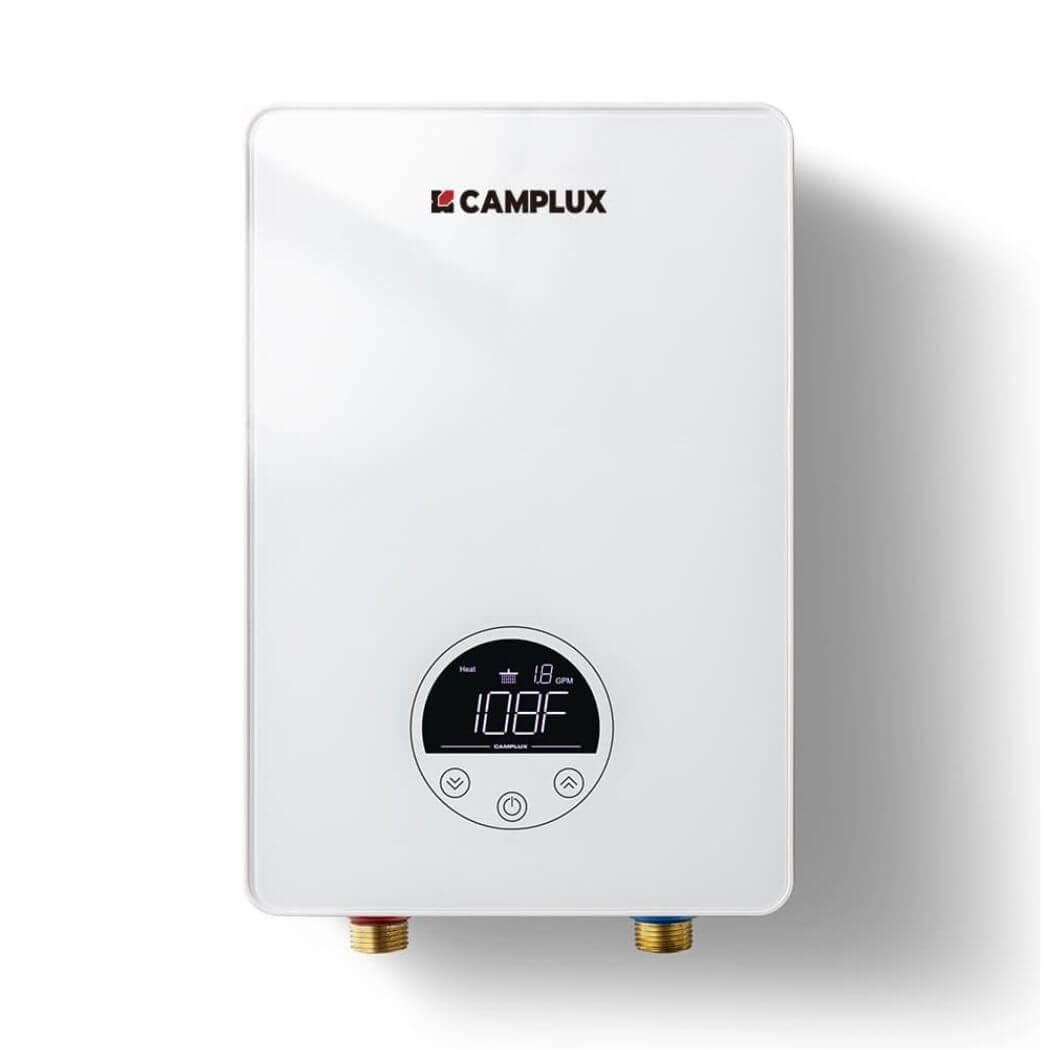
Turn on the Heater
Once you have completed the installation of the DIY pool heater and have everything connected properly, it's time to turn on the heater. Follow these steps to start heating your pool:
- Press the reset button on the unit , which is typically located on the control panel near the on/off water heater switch.
- Ensure that the pool pump is running to circulate the water through the heater.
- Set the desired temperature on the camping water heater.
- Monitor the temperature of the pool water and adjust the camping water heater as needed.
Remember to always follow the manufacturer's instructions and exercise caution when operating the pool heater.
Monitor and Adjust the Temperature
To ensure optimal heating of your pool, it is important to monitor and adjust the temperature regularly. Here are some tips to help you with this:
-
Check the temperature of the pool water using a pool thermometer. This will give you an accurate reading of the current temperature.
-
Adjust the heater settings based on your desired temperature. Most camping water heaters have adjustable temperature settings that allow you to increase or decrease the heat output.
-
Monitor the temperature throughout the day. Keep an eye on the temperature to ensure it stays within your desired range.
-
Make adjustments as needed . If the temperature is too low, you can increase the heater settings or adjust the pool pump to circulate the water more efficiently.
Remember, maintaining the right temperature is crucial for a comfortable and enjoyable swimming experience.
Conclusion
In conclusion, creating a DIY pool heater with a camping water heater can be a cost-effective and efficient solution for heating your pool. By following the step-by-step guide outlined in this article, you can save money on expensive pool heaters and enjoy a warm pool throughout the swimming season. Remember to prioritize safety and follow all manufacturer instructions when working with camping water heaters. With a little creativity and resourcefulness, you can enjoy the benefits of a heated pool without breaking the bank.
Frequently Asked Questions
How long does it take to heat up the pool using a DIY pool heater?
The heating time will depend on various factors such as the size of the pool, the temperature of the water source, and the efficiency of the heater. On average, it can take anywhere from a few hours to a full day to heat up the pool.
Can I use any camping water heater for this DIY project?
It is recommended to use a camping water heater that is suitable for outdoor use and has sufficient heating capacity for your pool size. Check the manufacturer's specifications to ensure compatibility.
Do I need any special tools to build the DIY pool heater?
Basic tools such as a saw, drill, and PVC pipe cutter will be required for assembling the PVC pipes. Additionally, you may need wrenches or pliers for connecting the water heater and pool pump.
Is it safe to use a DIY pool heater?
When built and operated correctly, a DIY pool heater can be safe to use. However, it is important to follow safety guidelines, ensure proper insulation, and regularly monitor the system to prevent any accidents or damage.
What is the estimated cost of building a DIY pool heater?
The cost will vary depending on the materials used and the size of the pool. On average, the cost can range from $200 to $500. It is recommended to research and compare prices before purchasing the materials.
Can I use the DIY pool heater for other purposes besides heating the pool?
While the DIY pool heater is primarily designed for heating pools, it can also be used for other applications that require hot water, such as outdoor showers or heating water for cleaning purposes.