


Camping is a way to reconnect with nature, and having a warm shower in the great outdoors can elevate the experience. However, without access to electricity, heating water for a camp shower can be a challenge. This article explores various methods to get hot water for your camp shower when you're off the grid. From solar power to portable gas heaters, we'll look into different techniques that can provide you with the comfort of a warm shower, even in the remotest locations.
Key Takeaways
- Solar shower bags and DIY solar options are eco-friendly ways to harness the sun's energy for heating water without needing electricity.
- Portable gas water heaters are an efficient solution for instant hot water but require careful handling and adherence to safety guidelines.
- Insulated containers can preserve pre-heated water temperature, making them a practical choice for short camping trips.
- Fire-heated techniques, such as boiling water over a campfire or using heat-exchange systems, are traditional methods that require attention to safety.
- Chemical water heating packs provide a convenient and lightweight option, though they may have limitations in terms of heat output and duration.
Understanding the Basics of Camp Showers
Types of Camp Showers
When planning for hygiene in the great outdoors, understanding the different types of camp showers is essential. Camp showers come in various forms, each suited to different camping styles and needs.
- Solar showers are popular for their simplicity and eco-friendliness. They use the sun's energy to heat water, which is stored in a bag that can be hung from a tree or other support.
- Hand pressurized showers require manual pumping to pressurize the water for a refreshing spray.
- Battery-powered showers offer the convenience of a steady water flow and are great for campsites without easy water access.
- Gravity-fed showers rely on elevation to provide water pressure and are simple to set up.
Each type of shower offers a unique set of benefits, and your choice will depend on factors such as trip duration, access to water, and personal preferences. For instance, a solar shower might be the best option for those who prefer an eco-friendly approach and have ample sunlight, while a battery-powered shower could be ideal for campers who prioritize convenience and are willing to carry extra weight.
Tip: Always consider the environmental impact of your shower choice and follow Leave No Trace principles to minimize your footprint.
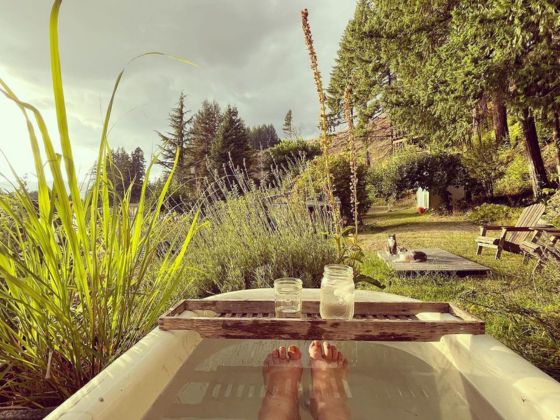
Benefits of a Warm Shower Outdoors
A warm shower in the great outdoors is not just a matter of comfort; it's a significant contributor to the overall camping experience. The soothing effect of warm water can help relax muscles after a long day of hiking, providing both physical and mental relief. Additionally, warm showers can be essential for hygiene, helping to remove sweat, dirt, and bacteria that accumulate during outdoor activities.
Warmth is also a key factor in maintaining body temperature, especially in cooler climates or during shoulder seasons when temperatures can drop unexpectedly. A warm shower can prevent the chill that often follows a day of exertion, ensuring a better night's sleep and readiness for the next day's adventures.
- Enhances relaxation and comfort
- Improves hygiene and cleanliness
- Helps maintain body temperature
- Contributes to better sleep quality
Remember: Always test water temperature before use to prevent scalding and ensure a safe and enjoyable experience.
Safety Considerations for Heating Water
When heating water for a camp shower, safety should be your top priority. The risk of scalding or burns is significant, especially in the confined spaces typical of camping environments. Always test the water temperature before use to prevent injuries.
- Ensure that your heating method is stable and secure to avoid spills. A knocked-over pot of boiling water can cause serious harm.
- Keep children and pets at a safe distance from the heat source.
Tip: Gradually mix hot water with cooler water to reach a comfortable temperature, rather than trying to cool down water that's too hot.
Be mindful of the surfaces you place hot containers on. Use heat-resistant barriers to protect both the surface and to reduce heat loss. Remember, some materials can catch fire or melt if they become too hot, so choose your barriers wisely.
Lastly, be aware of the environmental impact of your heating method. Minimize the use of non-renewable resources and avoid leaving any trace of your presence in the natural setting.
Solar-Powered Shower Solutions
Using Solar Shower Bags
Solar shower bags are a popular and eco-friendly way to enjoy hot water during your camping trips. These bags are typically made from durable, heat-absorbent materials and can be filled with water and left in the sun to warm. Portability and ease of use make them an ideal choice for campers and backpackers.
To use a solar shower bag effectively, follow these simple steps:
- Fill the bag with water and tightly seal the cap.
- Place the bag in a sunny spot with the clear side up to maximize heat absorption.
- Allow the water to heat up for several hours; the time needed can vary depending on weather conditions.
- Hang the bag above head height and use the attached hose and nozzle to shower.
Tip: For a warmer shower, choose a solar shower bag with a temperature gauge so you can monitor the water temperature and shower at the optimal time.
Remember that the capacity of solar shower bags can vary, so select one that meets your needs. Smaller bags are sufficient for quick showers, while larger ones can accommodate longer, more luxurious washes.
DIY Solar Shower Options
Creating your own solar shower can be a rewarding and cost-effective way to ensure you have hot water while camping. The basic principle involves using materials that absorb heat and transfer it to the water. A simple DIY solar shower can be made with a few readily available items.
- Start with a new, clean garden sprayer or a large water container.
- Paint the container black to maximize heat absorption.
- Attach a hose and a shower head, ensuring they are securely fastened.
- Place the setup in a sunny location for several hours before use.
Tip: For best results, use reflective materials such as aluminum foil or a mirror to direct more sunlight onto the container.
Remember to test the water temperature before showering to avoid scalding. With a bit of creativity and some basic supplies, you can enjoy the luxury of a warm shower even in the remote outdoors.
Maximizing Heat Absorption
To ensure your solar shower bag reaches its maximum temperature, proper placement is key. Position the bag so that the absorbent side is directly facing the sun's rays during peak sunlight hours. This typically means angling the bag towards the sun between 10 AM and 3 PM when the sun is at its highest. Additionally, consider the surface on which you place the bag. Avoid cold or shaded ground which can dissipate heat; instead, opt for a flat, sun-exposed rock or a suspended platform that allows for air circulation underneath.
Reflective surfaces can also be used to enhance the heating process. By placing a reflective sheet or foil under or behind the solar shower bag, you can increase the amount of sunlight hitting the bag, thus raising the water temperature more effectively.
Tip: Regularly rotate the bag to ensure all sides receive equal exposure to the sun, and check the water temperature before use to avoid scalding.
Remember that weather conditions and the time of year will affect heat absorption. On cloudy days or during colder seasons, it may take longer for the water to heat up, or it may not reach the desired temperature at all. In such cases, be prepared with alternative heating methods to ensure a warm shower is still within reach.
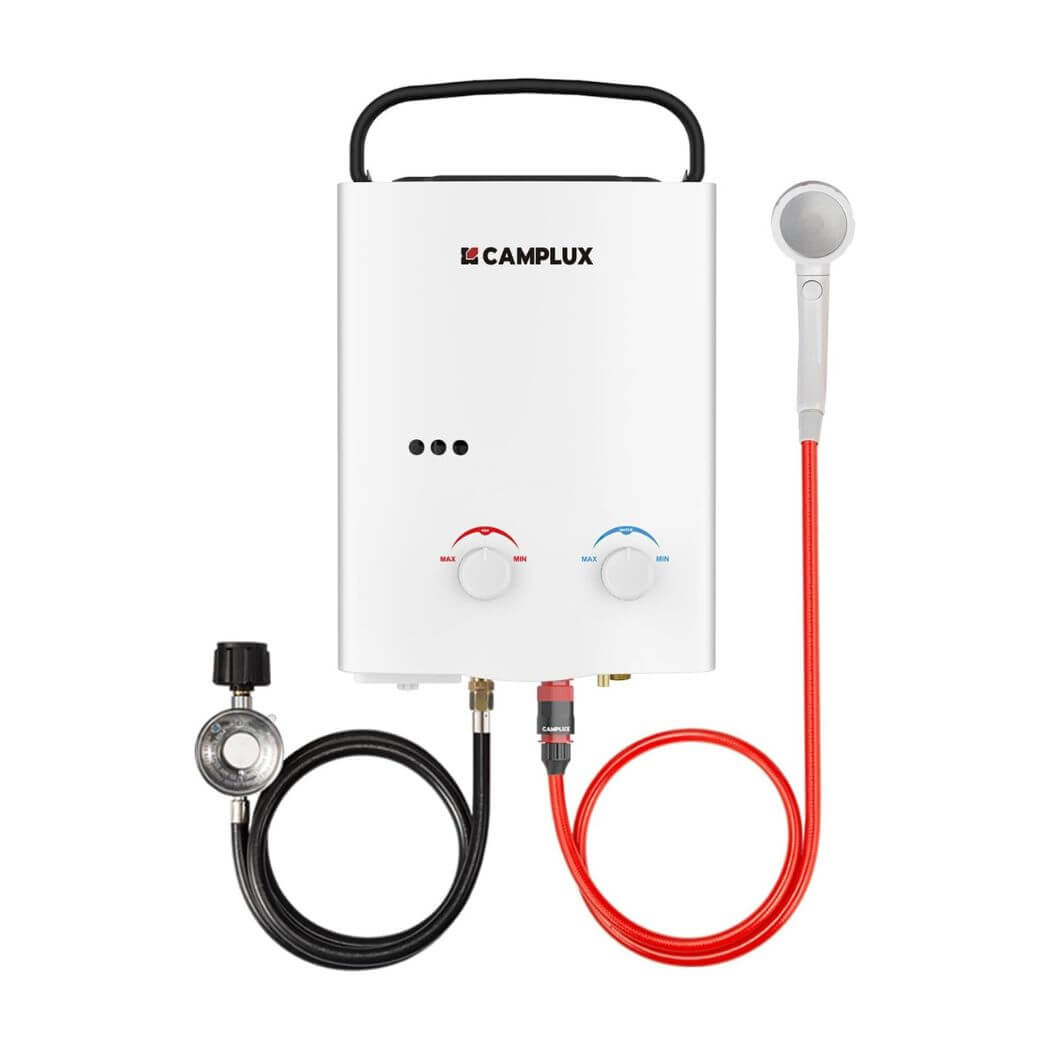
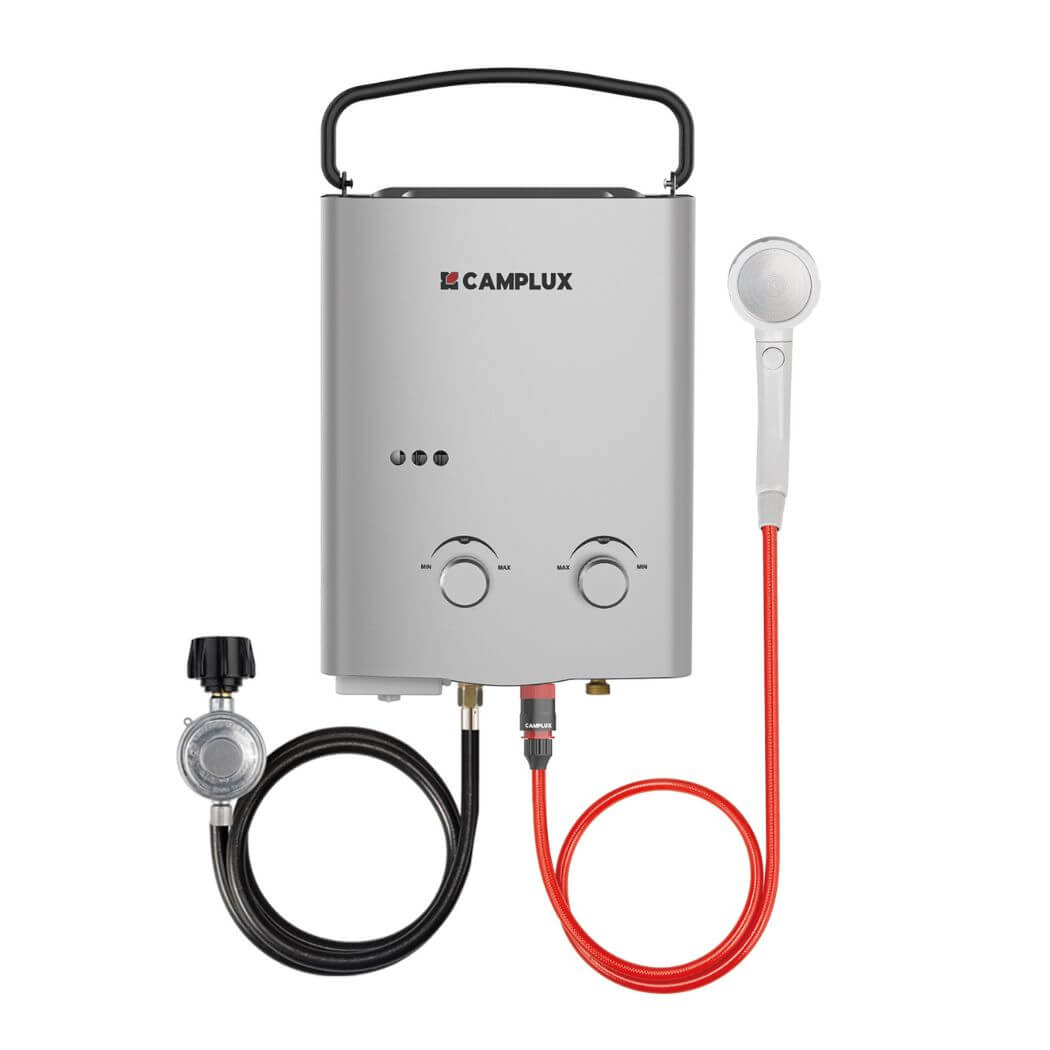
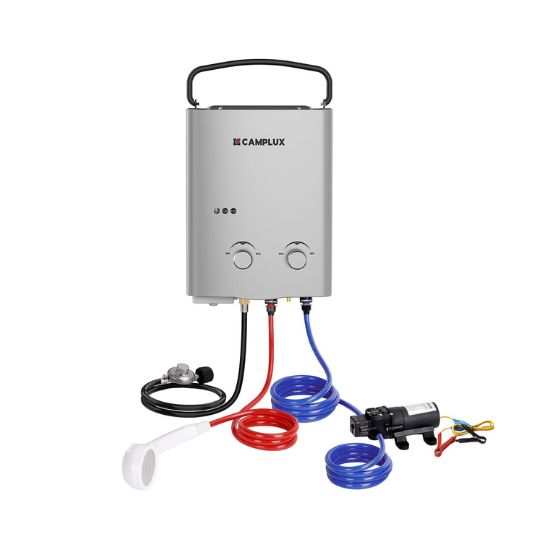
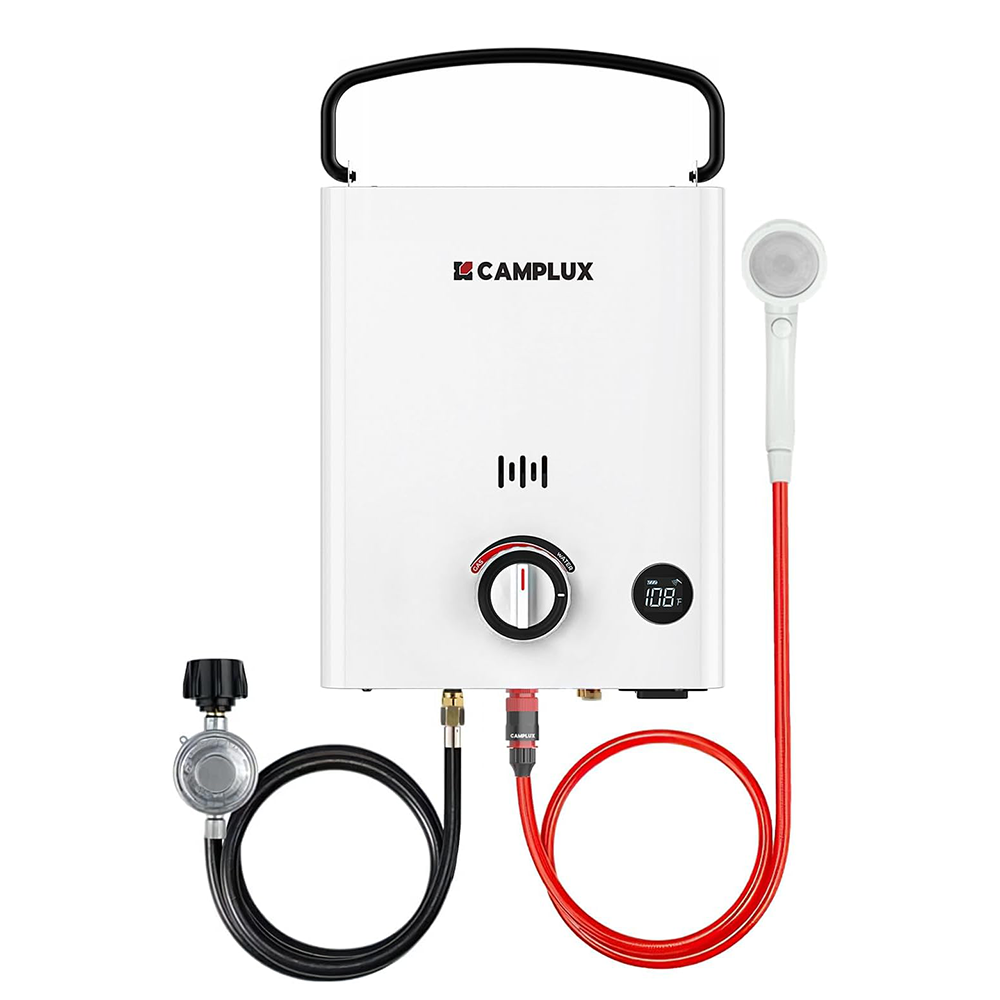
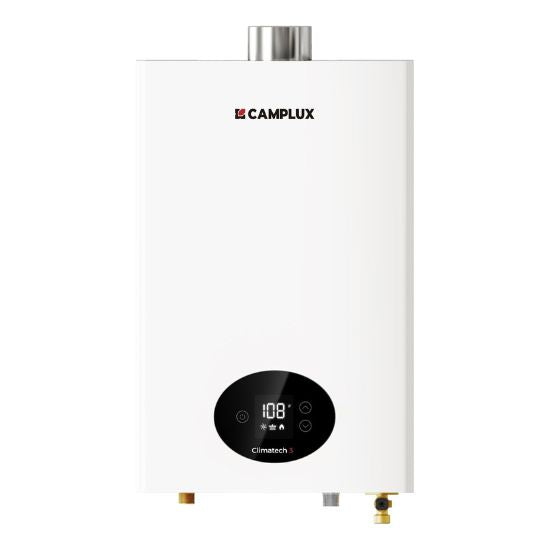
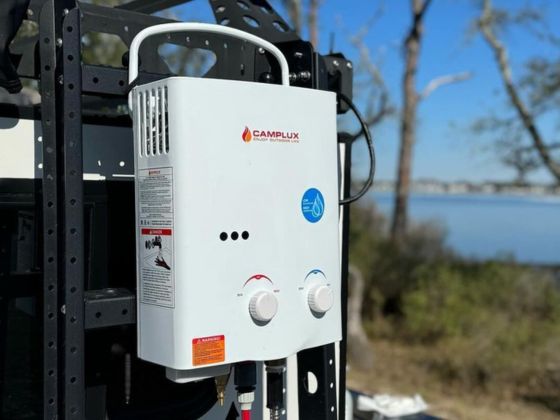
Portable Gas Water Heaters
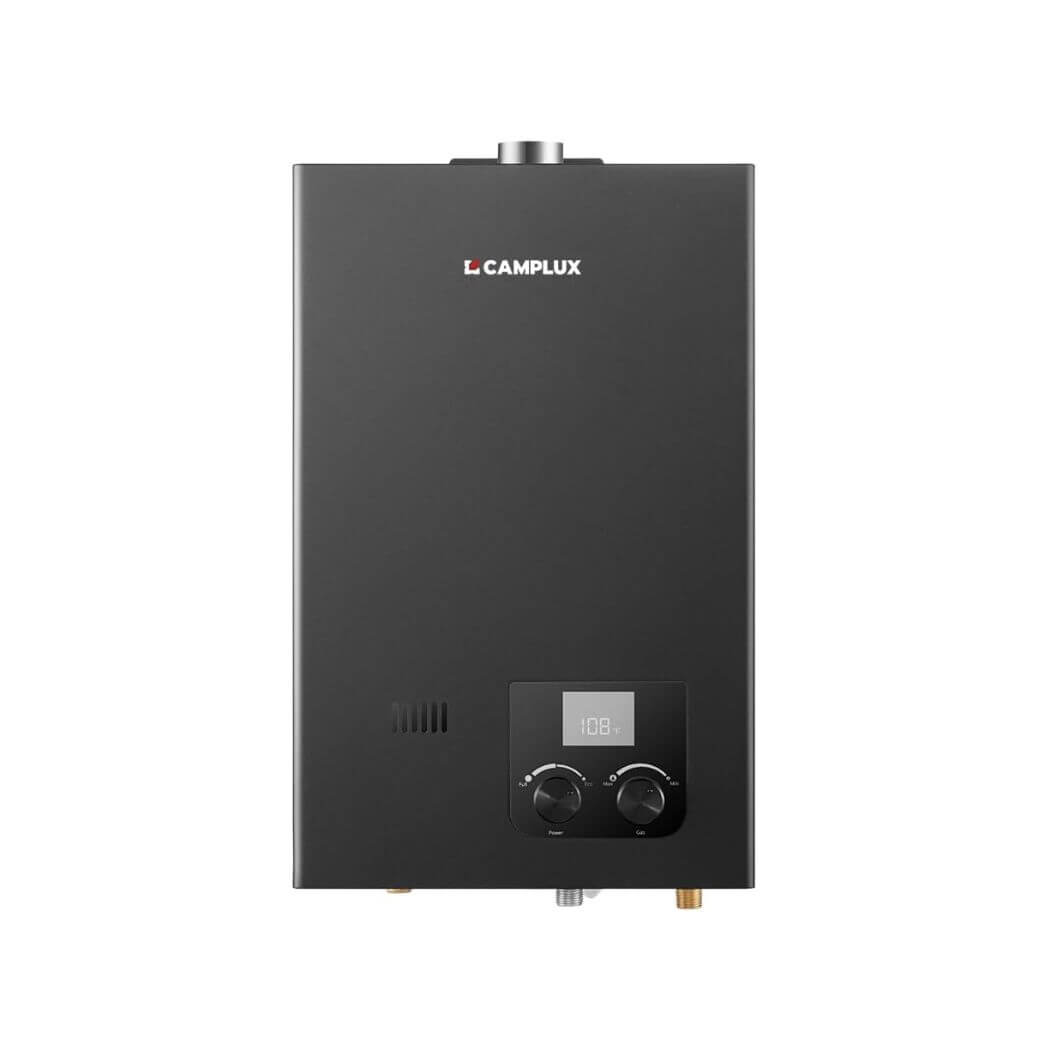
Selecting a Gas Water Heater
When choosing a gas water heater for your camp shower, several factors must be considered to ensure you select the right model for your needs. First, assess the heater's capacity, which is typically measured in liters per minute. This will determine how much hot water the unit can provide in a given time frame.
Next, consider the size and weight of the heater, especially if you'll be carrying it to remote locations. Portability is key for camping convenience. Additionally, look at the fuel efficiency and type of gas it uses—propane is a common choice due to its availability and energy density.
Durability and weather resistance are also important, as outdoor conditions can be unpredictable. Lastly, check for safety features such as automatic shut-off mechanisms and temperature controls to prevent scalding.
Tip: Always review the manufacturer's guidelines for usage and ensure the model complies with local regulations regarding gas appliances.
Here's a quick checklist to help you in your selection process:
- Heater capacity (liters per minute)
- Size and weight for portability
- Fuel efficiency and gas type
- Durability and weather resistance
- Safety features and temperature control
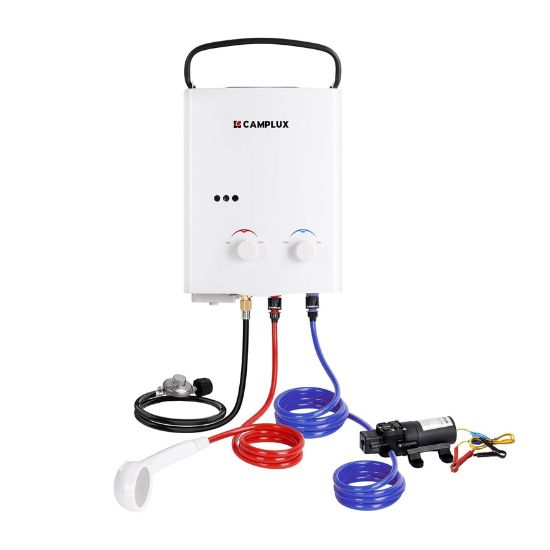
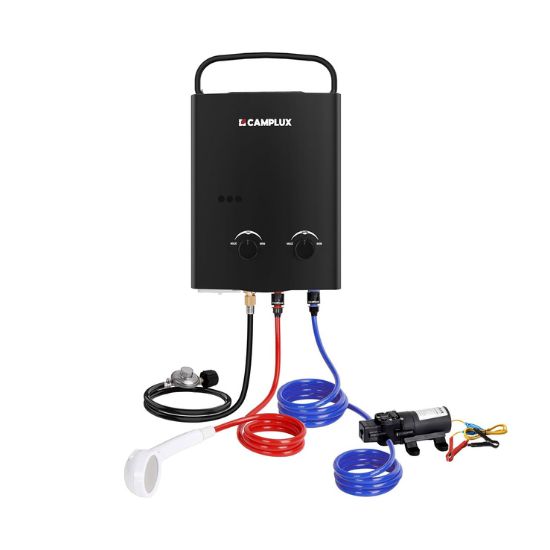
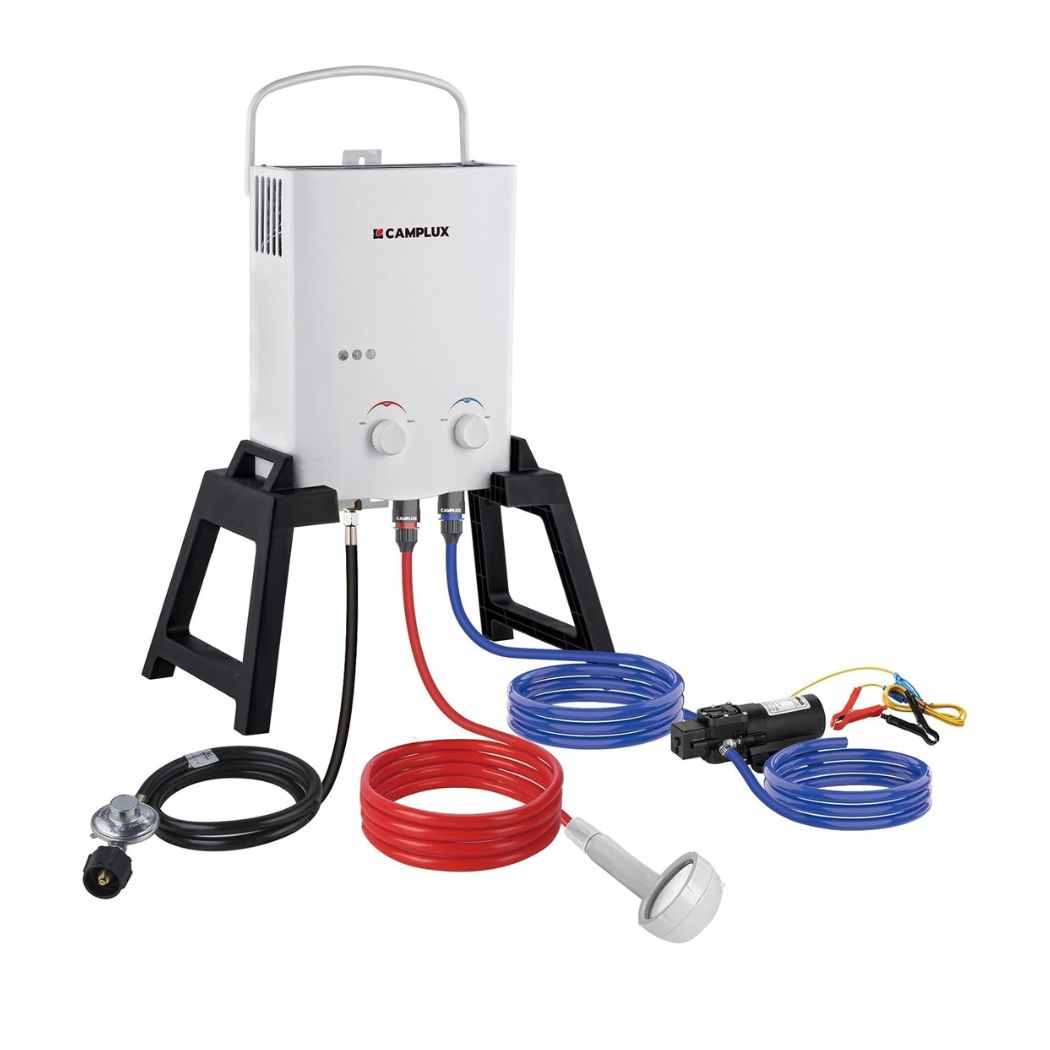
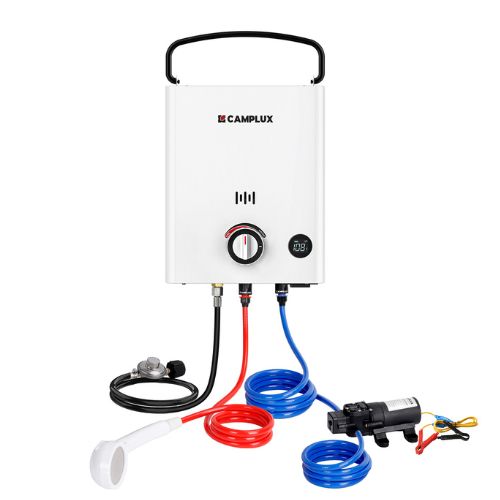
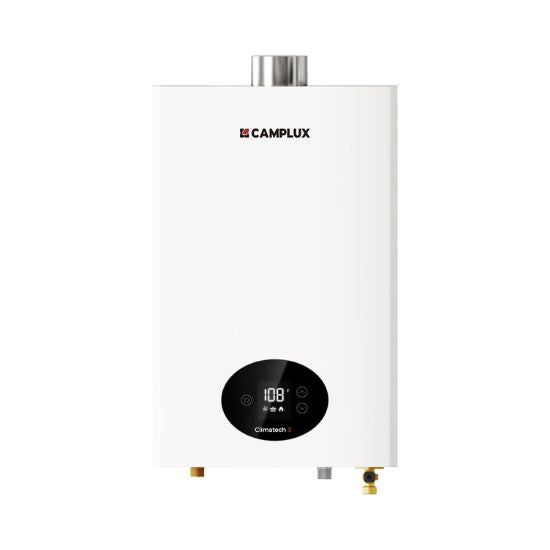
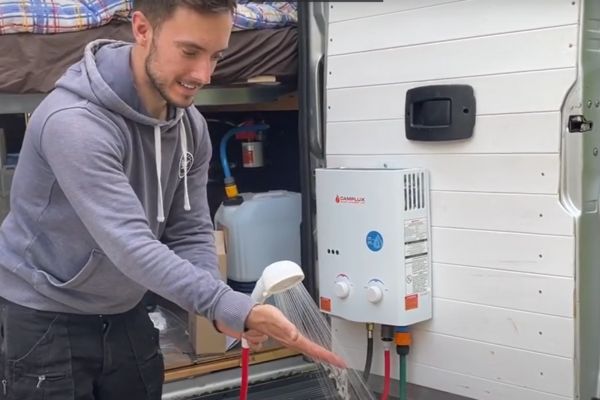
Setting Up Your Portable Heater
Setting up your portable gas water heater is a straightforward process, but it requires attention to detail to ensure safety and optimal performance. Begin by selecting a level surface to place the heater on, away from any flammable materials. Connect the gas supply, typically a propane tank, to the heater, making sure all connections are secure and leak-free.
Before ignition , check that the water inlet and outlet hoses are properly connected. Turn on the water source and allow the system to prime by letting water flow through the heater for a minute. This step is crucial to prevent dry firing, which can damage the unit.
Here is a simple checklist to follow:
- Ensure the heater is on a stable, non-flammable surface
- Connect the gas supply and check for leaks
- Attach water inlet and outlet hoses securely
- Prime the system with water before ignition
- Light the heater following the manufacturer's instructions
Tip: Always keep a fire extinguisher accessible in case of emergencies. Regularly monitor the heater while in use to detect any issues early on.
After the heater is lit, adjust the temperature to your preference. Remember that the water can get very hot, so it's important to test the water temperature before stepping into the shower. With these steps, you'll be able to enjoy a warm, comforting shower even in the great outdoors.
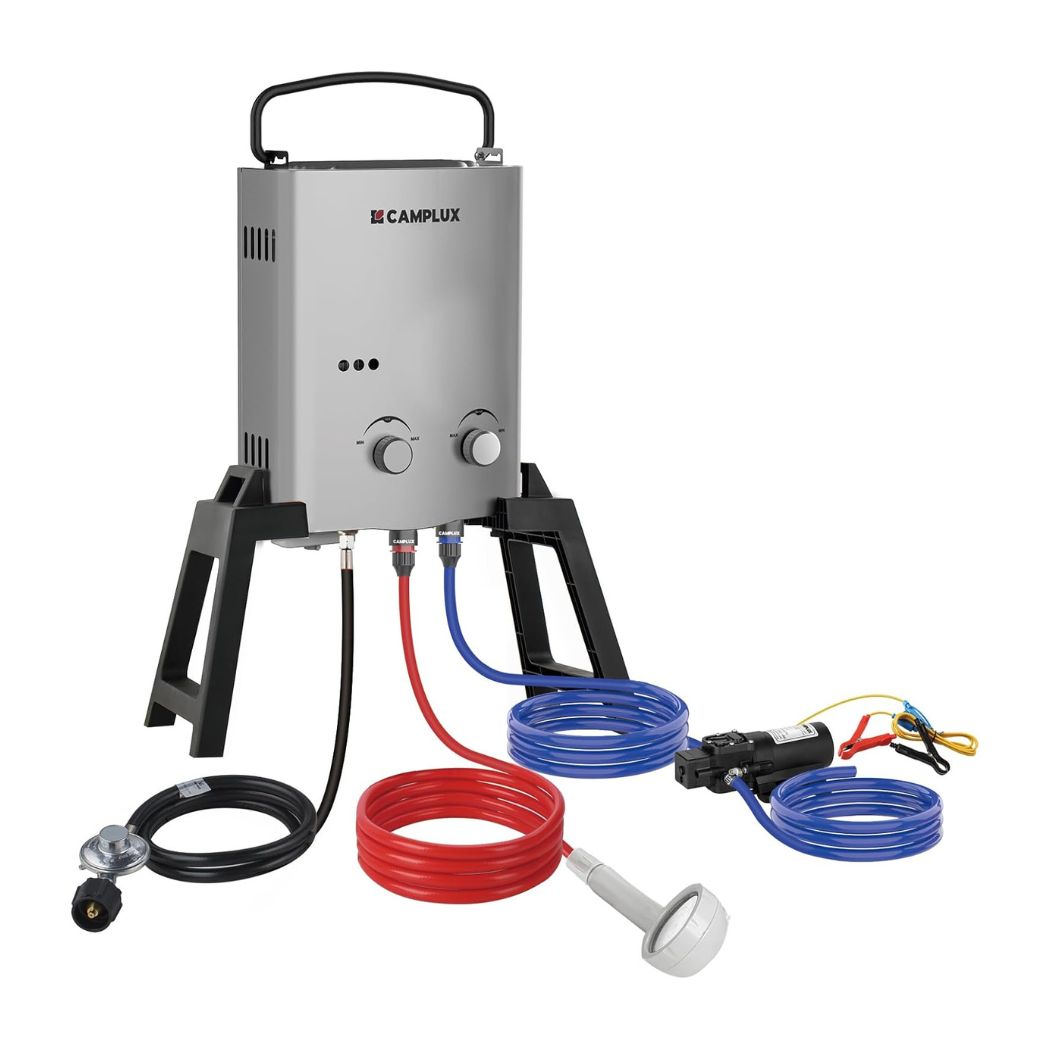
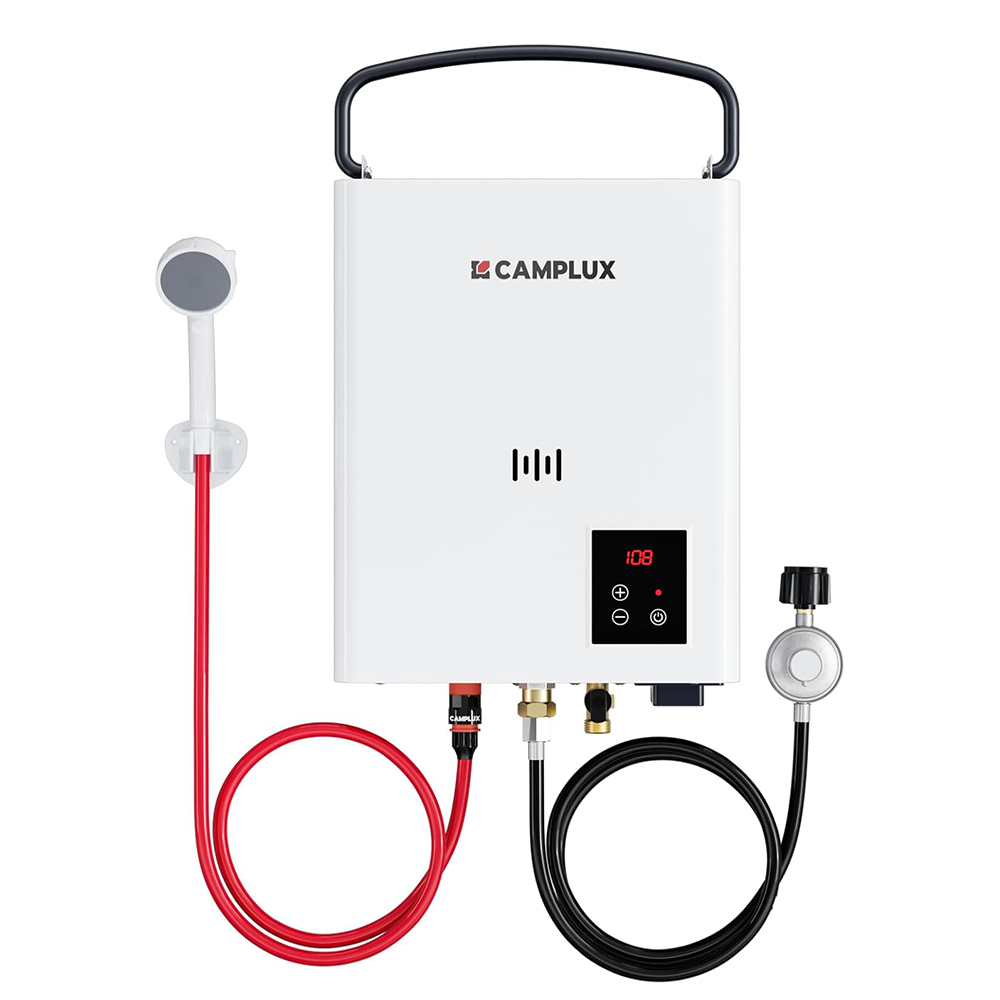
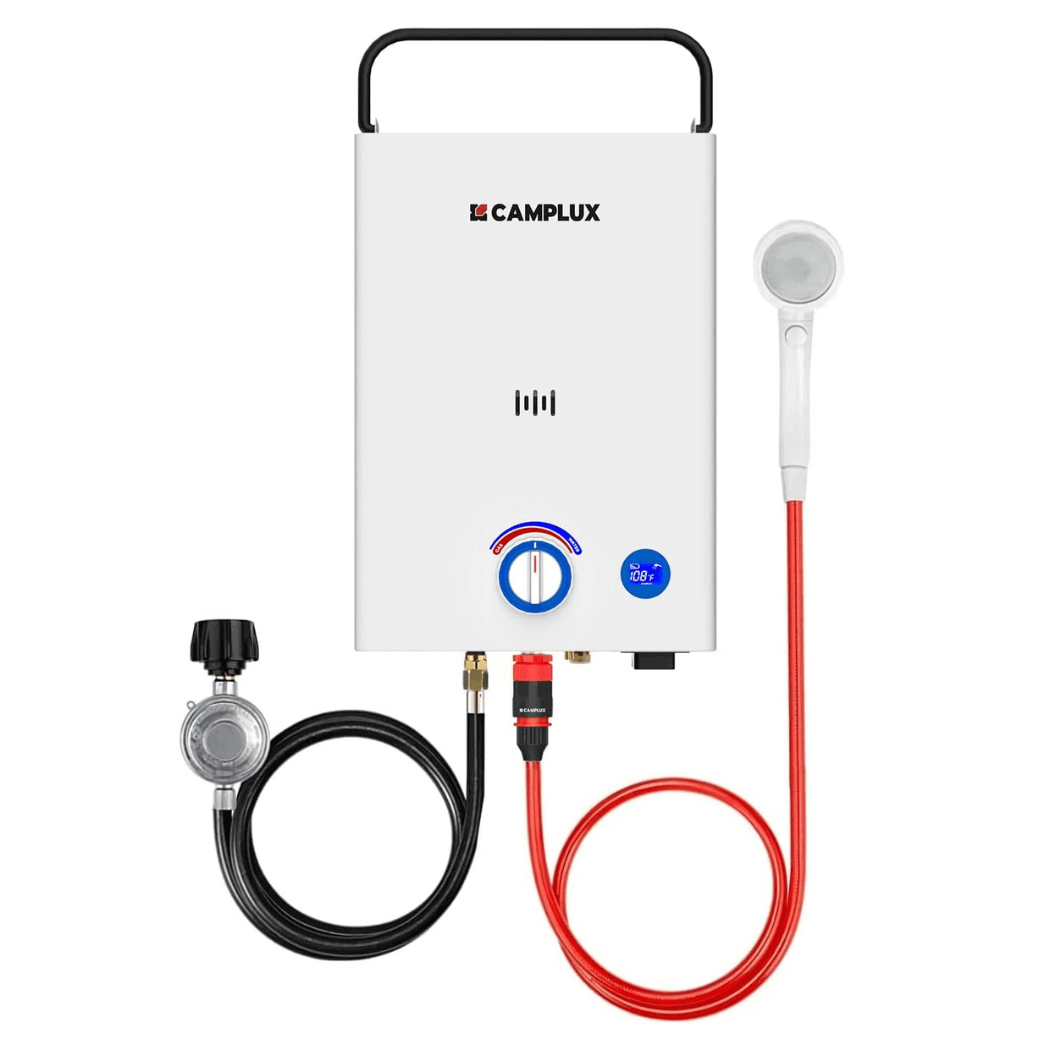
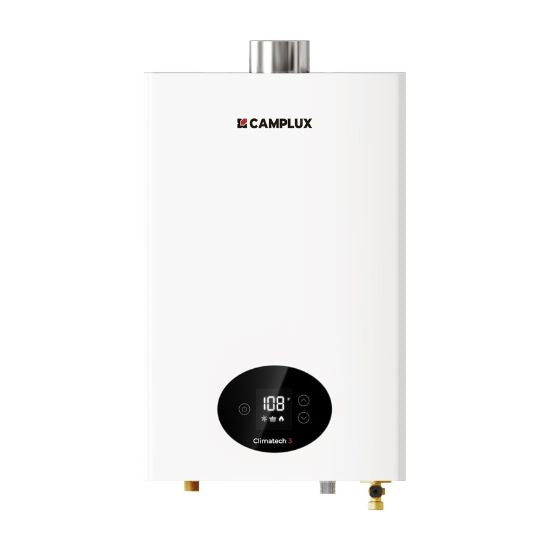
Operational Tips and Maintenance
Maintaining your portable gas water heater is essential for both performance and safety. Regularly inspect your unit for any signs of wear or damage, especially before and after each use. Gas leaks are a serious concern, so it's important to check all connections and hoses periodically. If you smell gas or suspect a leak, turn off the heater and gas supply immediately, and do not use the heater until it has been repaired.
Cleaning the water heater is also crucial. Ensure that the water inlet filter is clear of debris to prevent blockages and maintain efficient operation. After each trip, drain the heater completely to avoid internal corrosion or damage from freezing temperatures if applicable.
Always follow the manufacturer's instructions for care and maintenance to extend the life of your water heater.
Here are some additional tips to keep your portable gas water heater in top condition:
- Store the heater in a dry, covered place when not in use.
- Check the battery life if your heater uses an ignition battery, and replace it as needed.
- Perform a test run at home before leaving for your camping trip to ensure everything is working properly.
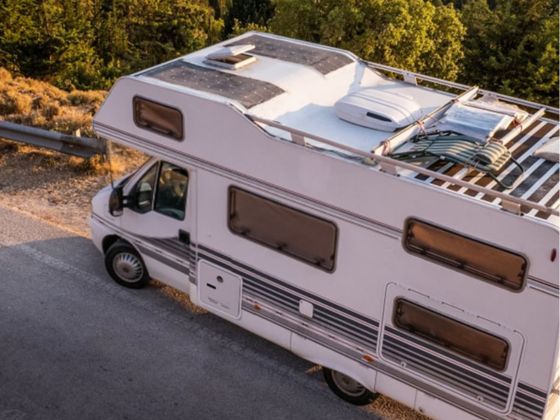
Insulated Container Methods
Pre-heating Water Before Your Trip
Starting your camping adventure with a supply of pre-heated water can be a game-changer, especially in environments where heating resources are scarce. By heating water at home, you can ensure that you have access to warm water from the moment you set up camp. This method requires planning and the right equipment to maintain the water temperature during transit.
To effectively pre-heat water, consider the following steps:
- Heat the water to your desired temperature using your home water heater or a large pot on the stove.
- Immediately transfer the hot water into insulated containers that are capable of maintaining high temperatures for extended periods.
- Seal the containers tightly to prevent heat loss and check for any leaks.
- Pack the containers in a way that minimizes movement and potential damage during transport.
Tip: Always test your insulated containers at home before your trip to ensure they retain heat effectively. This will help you avoid any surprises when you're ready to take a warm shower at your campsite.
Choosing the Right Insulated Containers
When selecting insulated containers for maintaining hot water, the key is to choose one that offers the best thermal retention. Thermal retention is the container's ability to keep water hot over an extended period. Look for containers with a double-walled construction and vacuum insulation, as these features significantly enhance heat preservation.
Capacity is another important factor. Consider the amount of hot water you'll need for your shower and select a container size accordingly. Here's a simple guide to help you decide:
- Small (up to 0.5L): Suitable for quick, solo showers.
- Medium (0.5L to 2L): Ideal for a single shower or multiple quick rinses.
- Large (2L and above): Best for multiple showers or extended use.
Tip: Pre-warm your container before adding hot water to extend the heat retention period.
Lastly, ensure the container has a secure sealing mechanism to prevent leaks and is made of durable materials to withstand the rigors of camping.
Maintaining Water Temperature
Once you've heated your water and transferred it to an insulated container , maintaining the temperature is crucial for a comfortable camp shower experience. The key is to minimize heat loss, which can be achieved through several methods.
- Wrap your container in additional insulating materials, such as blankets or specialized insulating covers.
- Place the container in a sunny spot during the day if the weather permits, as this can help retain heat.
- Avoid opening the container frequently, as this lets heat escape. Only open it when you're ready to use the water.
Tip: Pre-warming your insulated container with hot water before adding the water for your shower can help maintain the temperature for a longer period.
If you're interested in the efficiency of basic insulation versus non-insulated containers, consider the following table:
| Container Type | Heat Retention Time | Additional Insulation Needed |
|---|---|---|
| Non-insulated | 1-2 hours | High |
| Basic insulated | 3-4 hours | Moderate |
| High-end insulated | 5+ hours | Low |
Remember, the quality of your insulated container and the external environment will greatly influence how long your water stays warm. Plan accordingly to ensure a pleasant showering experience in the great outdoors.
Fire-Heated Water Techniques
Boiling Water Over a Campfire
Boiling water over a campfire is a traditional method for obtaining hot water outdoors. It's a straightforward process that involves heating water in a pot or kettle over open flames. Here are the steps to ensure you get the best results:
- Find a safe location for your campfire away from flammable materials and shelter.
- Gather dry wood or other natural fuel sources.
- Use a fire starter or kindling to ignite the fire, then gradually add larger pieces of wood.
- Place your pot or kettle filled with water on the fire, using a sturdy grate or tripod if available.
- Monitor the water temperature and remove from the fire once it reaches a rolling boil.
Tip: Always keep a close eye on the fire to prevent any accidents, and make sure to completely extinguish the flames after use.
Remember that while boiling water is effective, it can take some time depending on the fire's intensity and the ambient temperature. It's also important to handle the hot pot or kettle with care to avoid burns. Using a towel or a pair of gloves can provide a better grip and protect your hands .
Heat-Exchange Systems
Heat-exchange systems offer a clever solution for heating water without direct fire contact, utilizing the heat from a campfire or stove. By circulating water through pipes or coils that are exposed to the heat source, the water gradually warms up. This method is particularly efficient as it captures heat that would otherwise be wasted.
- Ensure the heat-exchange material is durable and can withstand high temperatures.
- Position the system to maximize contact with the heat source while maintaining safety.
- Regularly monitor the water temperature to avoid overheating.
Tip: Always check for leaks before use to prevent water loss and potential burn hazards.
Safety Precautions When Using Fire
When heating water over a campfire for your shower, safety is paramount. Always establish a clear area, free from flammable materials, around the fire pit. It's essential to have a fire extinguisher or a bucket of sand/water at hand for emergencies. Use designated fire pits if available, and never leave the fire unattended.
Never use accelerants like gasoline to start or fuel the fire, as they can cause uncontrollable flames and are a significant safety hazard. Instead, opt for safer alternatives such as fire-starter sticks or lighter fuel specifically made for campfires.
Tip: Before starting your fire, gather all necessary equipment and ensure you have a method to safely transport hot water to your shower area without risking burns or spills.
Remember to thoroughly extinguish the fire after use, ensuring that the embers are cold to the touch. Douse with water and stir the ashes to prevent any chance of the fire reigniting.
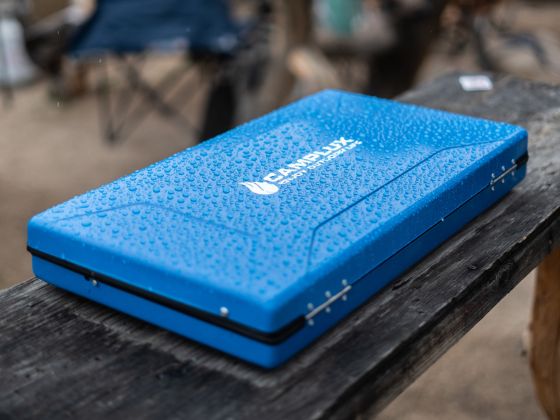
Chemical Water Heating Packs
How Chemical Heating Packs Work
Chemical heating packs offer a convenient way to generate heat without the need for external power sources. These packs typically contain a supersaturated solution of sodium acetate , which releases heat through an exothermic crystallization process. To activate the heat, you simply flex a metal disc inside the pack, which triggers the crystallization and provides warmth.
Activation is simple : bend the metal disc and the liquid solution begins to solidify, releasing heat in the process. This heat can then be transferred to water for your camp shower. The packs are often reusable; after the initial use, you can reset them to their liquid state by boiling in water, allowing them to be used multiple times during your trip.
Tip: Always ensure the pack is completely re-liquefied before attempting to reactivate it, as partial crystallization can prevent proper function.
Chemical heating packs are particularly useful for campers because they are lightweight and easy to transport. Here's a quick rundown of how to use them effectively:
- Snap the metal disc to activate the pack.
- Place the activated pack in a container with water.
- Allow sufficient time for the heat to transfer to the water.
- Once the water is warm, integrate it with your camp shower system.
- After use, re-boil the pack to return it to its liquid state for future use.
Advantages and Limitations
Chemical water heating packs offer a convenient and lightweight solution for campers seeking hot water without electricity. Advantages of these packs include their portability, ease of use, and the fact that they do not require sunlight or fuel to operate. They are particularly useful in overcast conditions or during the night when solar options are ineffective.
However, there are several limitations to consider. The heat generated by these packs is typically not as high as that produced by gas heaters or fire-heated methods. Additionally, they can be more expensive in the long run due to the cost of single-use packs. Here's a quick overview of the pros and cons:
-
Pros :
- Portable and lightweight
- Easy to use
- No sunlight or fuel needed
-
Cons :
- Lower heat output
- Higher ongoing cost
- Limited heating duration
Tip: To maximize the utility of chemical heating packs, integrate them with an insulated container to prolong the warmth of the water.
Integrating Heating Packs with Your Camp Shower
Integrating chemical heating packs into your camp shower setup can be a game-changer for those chilly mornings or evenings in the wilderness. To ensure a seamless experience, follow these steps:
- Begin by activating the heating pack according to the manufacturer's instructions.
- Once activated, carefully place the pack at the base of your water container, ensuring it's securely positioned.
- Allow sufficient time for the heat to transfer to the water. This duration will vary depending on the pack's specifications and the water volume.
Remember , the efficiency of heat transfer can be affected by external temperatures and the insulation properties of your container. To maintain optimal water temperature:
- Use an insulated cover over your water container.
- Minimize exposure to cold air by keeping the container closed until use.
Tip: Test your heating pack at home before your trip to gauge how long it takes to heat water to your preferred temperature. This will help you plan your shower schedule effectively.
Discover the convenience of instant hot water even while you're off the grid with Camplux's innovative Chemical Water Heating Packs. Designed for adventurers who refuse to compromise on comfort, these heating packs are a game-changer for outdoor enthusiasts. Whether you're camping, hiking, or just enjoying the great outdoors, our Chemical Water Heating Packs ensure you have access to hot water in seconds. Experience the ease of use and reliability that comes with our top-rated tankless water heaters, now enhanced with the portability of chemical heating technology. Don't let the lack of facilities hold you back from your adventures. Visit Camplux.com today to explore our range of portable water solutions and take the first step towards a truly enhanced outdoor experience. Remember, with Camplux, nature is your shower room, and the warmth is always within reach.
Wrapping Up: Warm Comforts Away from Home
In conclusion, securing hot water for a camp shower without electricity is not only feasible but can also add a touch of comfort to your outdoor adventures. Whether you opt for solar bags, portable gas heaters, or the traditional campfire method, each solution offers its unique benefits. Remember, the key is to plan ahead and choose the method that best suits your camping style and environment. With the right approach, you can enjoy the luxury of a warm shower, even in the heart of nature. Stay safe, respect the environment, and relish the simple pleasures of camping with the added comfort of hot water.
Frequently Asked Questions
How do solar shower bags work for camping?
Solar shower bags are designed to absorb and retain heat from the sun to warm up the water inside. They are typically made of dark materials to enhance heat absorption and have a clear side to allow sunlight to penetrate. You fill the bag with water and leave it in direct sunlight for several hours before use.
Are portable gas water heaters safe to use for camp showers?
Portable gas water heaters are generally safe when used according to the manufacturer's instructions. It's important to ensure proper ventilation to avoid carbon monoxide buildup and to follow all safety guidelines for handling flammable gases.
What should I consider when choosing an insulated container for my camp shower?
When choosing an insulated container, consider the container's capacity, insulation quality, durability, and portability. A good insulated container should keep water hot for several hours and be easy to transport to and from your campsite.
Can I heat water over a campfire for my shower?
Yes, you can heat water over a campfire by using a pot or kettle. However, you must be cautious and follow fire safety practices. It's important to have a secure setup to prevent accidents and to ensure that the water does not reach boiling point if you plan to use it directly on your skin.
What are the advantages of using chemical heating packs for camp showers?
Chemical heating packs are lightweight, easy to pack, and do not require any external power source or fuel. They can be a convenient option for hikers and backpackers who need to minimize their load. However, they may not provide as much heat or as long a duration as other methods.
How can I maximize heat absorption when using a DIY solar shower?
To maximize heat absorption for a DIY solar shower, use black or dark-colored materials for the water container, place it on a reflective surface, and orient it towards the sun for maximum exposure. Insulate any tubing to prevent heat loss and consider using a greenhouse-like cover to trap more heat.