

Installing an RV water heater is an essential step in ensuring a comfortable and convenient camping experience. Whether you're replacing an old water heater or installing a new one, this step-by-step guide will walk you through the process. From choosing the right water heater to troubleshooting common issues, you'll have all the information you need to successfully install an RV water heater.

Key Takeaways
- Choose the right type and size of RV water heater for your needs.
- Gather all the necessary tools and materials before starting the installation.
- Properly prepare your RV by draining the water system and removing the old water heater.
- Follow the manufacturer's instructions for mounting the water heater and connecting the water lines.
- Test the water heater after installation to ensure it is working properly.
Choosing the Right RV Water Heater
Types of RV Water Heaters
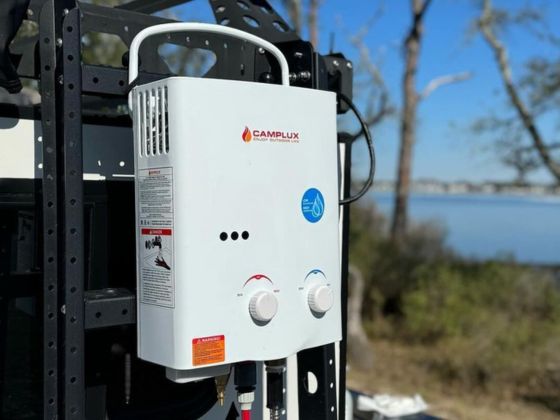
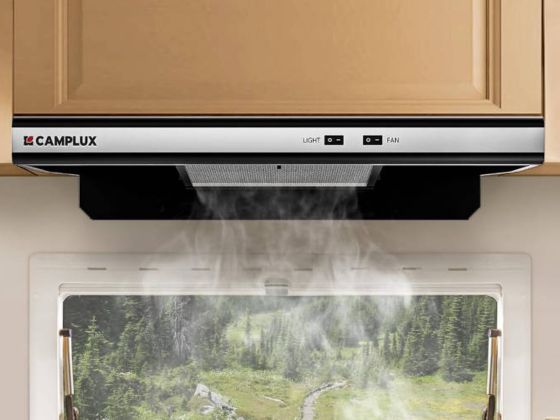
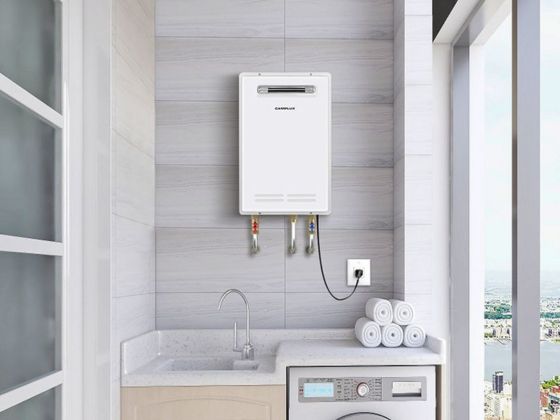
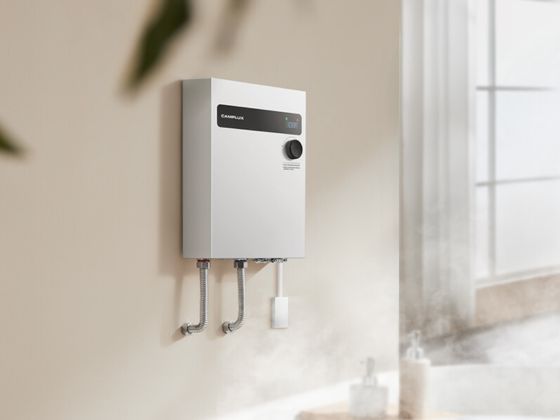
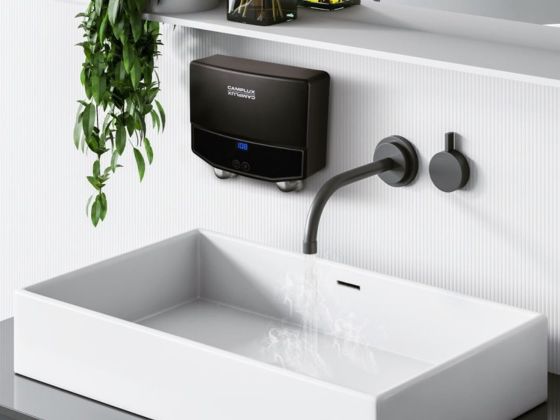
There are two main types of RV water heaters: tankless and tank-style. Tankless water heaters heat the water on demand, providing a continuous supply of hot water. They are more energy-efficient and take up less space compared to tank-style water heaters. On the other hand, tank-style water heaters store and heat a specific amount of water in a tank, which is then ready for use. They are generally less expensive upfront but may run out of hot water if used excessively. When choosing an RV water heater, consider your hot water needs, available space, and energy requirements.
Factors to Consider
When choosing an RV water heater, there are several factors to consider. Fuel type is an important consideration, as RV water heaters can be powered by propane, electricity, or both. Propane heaters are popular for their efficiency and ability to provide hot water even when camping off-grid. Electric heaters are convenient for RVs with access to electricity. Another factor to consider is the size of the water heater. It's important to choose a water heater that can meet the hot water demands of your RV. Additionally, consider the installation requirements and maintenance of the water heater. Some models may require professional installation or regular maintenance to ensure optimal performance. Lastly, cost is a factor to consider. Compare the prices of different water heaters and consider the long-term cost of operation and maintenance.
Sizing the Water Heater
When it comes to sizing your RV water heater, it's important to consider the specific needs of your RV lifestyle. The size of the water heater will determine how much hot water you can have available at any given time. Here are a few factors to keep in mind:
- Number of people: Consider the number of people who will be using hot water in your RV. More people will require a larger water heater.
- Water usage: Think about how much hot water you typically use in a day. If you take long showers or use hot water for multiple purposes, you may need a larger water heater.
- Available space: Measure the space available in your RV for the water heater. Make sure the dimensions of the water heater you choose will fit comfortably.
Remember, choosing the right size water heater is essential for ensuring a comfortable and convenient RV experience.
Gathering the Necessary Tools and Materials
Tools Needed
To install an RV water heater, you will need the following tools:
- Adjustable wrench
- Screwdriver
- Pipe cutter
- Pliers
- Tape measure
These tools will help you complete the installation process smoothly and efficiently. Make sure to have them on hand before you begin.
Materials Needed
To install an RV water heater, you will need the following materials:
- RV water heater
- Water heater mounting kit
- Water heater bypass kit
- Water heater insulation blanket
- Teflon tape
- Pipe fittings
- Hose clamps
- Propane gas line (if using a gas water heater)
- Electrical wire (if using an electric water heater)
It is important to gather all of these materials before starting the installation process. Having everything on hand will make the process smoother and more efficient.
Preparing the RV for Water Heater Installation
Draining the Water System
Before installing the new RV water heater, it is important to drain the water system to prevent any potential leaks or damage. Follow these steps to drain the water system:
- Turn off the water supply to the RV.
- Open all faucets and drains to allow the water to flow out.
- If your RV has a water pump, turn it on to help remove any remaining water.
- Once all the water has been drained, close the faucets and drains.
Remember to take precautions and wear gloves when handling the water system to avoid any injuries.
Tip: It is a good idea to drain the water system periodically to prevent the buildup of sediment and ensure the longevity of your RV water heater.
Removing the Old Water Heater
Before removing the old water heater, make sure to turn off the gas or electricity supply to the unit. This will prevent any accidents or injuries during the removal process. Once the supply is turned off, you can begin the removal process.
First, disconnect the water lines connected to the water heater. Use a wrench to loosen the fittings and carefully remove the lines. Make sure to have a bucket or towel handy to catch any water that may leak out.
Next, remove any screws or bolts that are securing the water heater in place. Depending on the model, there may be screws on the front or back of the unit. Once the screws are removed, carefully lift the water heater out of its mounting.
After removing the old water heater, inspect the installation area for any damage or corrosion. Clean the area if necessary and make any repairs before installing the new water heater. This will ensure a proper and secure installation.
Inspecting the Installation Area
Before proceeding with the installation, it is important to thoroughly inspect the installation area to ensure it meets the necessary requirements. Here are a few key points to consider:
-
Clearance: Make sure there is enough space around the water heater for proper ventilation and maintenance.
-
Accessibility: Ensure that the water heater is easily accessible for future repairs or replacements.
-
Level Surface: The installation area should be level to prevent any issues with the water heater's operation.
-
Proper Support: Check that the installation area can provide adequate support for the weight of the water heater.
-
Safety Considerations: Identify any potential hazards or obstacles that may affect the installation or operation of the water heater.
Taking the time to carefully inspect the installation area will help ensure a successful and safe installation process.
Installing the RV Water Heater
Mounting the Water Heater
Once you have gathered all the necessary tools and materials, it's time to mount the water heater in your RV. Follow these steps to ensure a secure installation:
- Choose a suitable location for the water heater. It should be easily accessible and away from any flammable materials.
- Use the provided mounting brackets to attach the water heater to the RV's interior wall. Make sure the brackets are securely fastened.
- Double-check the alignment of the water heater to ensure it is level and straight.
Remember, a properly mounted water heater is essential for safe and efficient operation.
Connecting the Water Lines
When connecting the water lines for your RV water heater, it is important to ensure a secure and leak-free connection. Follow these steps to properly connect the water lines:
-
Begin by applying plumber's tape to the threaded ends of the water lines. This will help create a tight seal and prevent leaks.
-
Attach one end of the water line to the cold water inlet on the water heater. Make sure it is securely tightened.
-
Attach the other end of the water line to the hot water outlet on the water heater. Again, ensure it is tightly secured.
-
Once both water lines are connected, turn on the water supply and check for any leaks. If you notice any leaks, tighten the connections further or replace any faulty parts.
Remember, a proper connection is essential for the efficient operation of your RV water heater.
Connecting the Gas or Electric Supply
After mounting the water heater, the next step is to connect the gas or electric supply. This will depend on the type of water heater you have chosen. If you have a gas water heater, you will need to connect the gas line to the water heater. Make sure to follow the manufacturer's instructions for properly connecting the gas line. If you have an electric water heater, you will need to connect the electrical wiring to the water heater. Again, it is important to follow the manufacturer's instructions for safe and proper installation.
Once the gas or electric supply is connected, double-check all connections to ensure they are secure and properly tightened. This will help prevent any leaks or issues with the water heater. It is also a good idea to test the gas or electric supply to ensure the water heater is functioning correctly. Turn on the gas or electricity and check for any signs of leaks or malfunctions. If everything looks good, you are ready to move on to the next step in the installation process.
Testing the Water Heater
After the RV water heater has been installed, it is important to test it to ensure it is functioning properly. Here are the steps to test the water heater:
- Turn on the water heater by following the manufacturer's instructions.
- Wait for the water heater to heat up. This may take some time, so be patient.
- Check the hot water faucet in the RV to see if hot water is coming out. If hot water is not coming out, there may be an issue with the water heater.
- If there are any issues, refer to the troubleshooting section of this guide for solutions.
Remember to always follow safety precautions when testing the water heater. If you are unsure about anything, consult a professional.
Tip: It is a good idea to test the water heater before going on a trip to ensure you have hot water when you need it.
Troubleshooting Common Issues
No Hot Water
If you're experiencing a lack of hot water in your RV, there are a few potential causes to consider:
-
Gas Supply: Check that the gas supply to the water heater is turned on and that there is sufficient propane in the tank. If the gas supply is low or turned off, the water heater will not be able to heat the water.
-
Electric Supply: If your RV water heater is electric, make sure that it is properly connected to a power source. Check the circuit breaker to ensure it hasn't tripped.
-
Thermostat Settings: Verify that the thermostat on the water heater is set to the desired temperature. If it is set too low, the water may not reach the desired hot temperature.
-
Heating Element: If you have an electric water heater, the heating element may be faulty or burned out. Consider checking and replacing the heating element if necessary.
Remember to always follow the manufacturer's instructions and consult a professional if you are unsure or uncomfortable performing any of these troubleshooting steps.
Water Leaks
Water leaks can be a common issue when installing an RV water heater. It is important to address them promptly to prevent any damage to your RV. Here are a few steps you can take to troubleshoot and fix water leaks:
-
Inspect the water connections: Check all the water connections for any signs of leaks. Tighten any loose connections and replace any damaged or worn-out seals.
-
Check the pressure relief valve: The pressure relief valve is designed to release excess pressure from the water heater. If it is leaking, it may need to be replaced.
-
Inspect the water tank: Check the water tank for any cracks or damage. If you find any, you may need to replace the tank.
-
Use thread seal tape: When connecting the water lines, make sure to use thread seal tape on the fittings to prevent leaks.
Remember, it is important to address water leaks as soon as possible to avoid any further damage to your RV.
Pilot Light Won't Stay Lit
If you're experiencing issues with the pilot light on your RV water heater not staying lit, there are a few possible causes and solutions to consider:
-
Gas Supply: Ensure that there is an adequate supply of gas to the water heater. Check the gas valve and make sure it is fully open. If the gas supply is low or there is a blockage in the line, the pilot light may not stay lit.
-
Thermocouple: The thermocouple is a safety device that senses the presence of a flame. If the thermocouple is faulty or dirty, it may not detect the pilot light and will shut off the gas supply. Clean or replace the thermocouple if necessary.
-
Air Flow: Insufficient air flow can also cause the pilot light to go out. Make sure the area around the water heater is free from obstructions and that the venting system is clear.
-
Igniter: If the igniter is not working properly, it may not be able to ignite the gas and keep the pilot light lit. Check the igniter for any damage or wear and replace if needed.
Remember to always follow the manufacturer's instructions and consult a professional if you are unsure or uncomfortable with performing any repairs or maintenance on your RV water heater.
Conclusion
Installing an RV water heater can be a challenging but rewarding task. By following this step-by-step guide, you can ensure that your RV has a reliable source of hot water for all your camping adventures. Remember to safely handle all the necessary tools and materials, and consult the manufacturer's instructions for specific installation requirements. With a little patience and careful attention to detail, you'll be enjoying hot showers and cozy evenings in your RV in no time. Happy camping!
Frequently Asked Questions
How do I choose the right size RV water heater?
To choose the right size RV water heater, consider the number of people in your RV and their hot water usage. A general guideline is to have 6-10 gallons of water storage per person.
Can I install an electric water heater in my RV?
Yes, you can install an electric water heater in your RV. However, make sure your RV's electrical system can handle the power requirements of the water heater.
How often should I drain and flush my RV water heater?
It is recommended to drain and flush your RV water heater at least once a year to remove sediment and mineral buildup.
What type of maintenance does an RV water heater require?
Regular maintenance for an RV water heater includes checking for leaks, inspecting the anode rod, and cleaning the burner or heating element.
Can I use propane and electric simultaneously to heat water in my RV?
Some RV water heaters have the option to use both propane and electric power sources simultaneously. Check the manufacturer's instructions to see if your water heater supports this feature.
What should I do if the pilot light on my RV water heater won't stay lit?
If the pilot light on your RV water heater won't stay lit, it may be due to a faulty thermocouple. Try cleaning or replacing the thermocouple to resolve the issue.