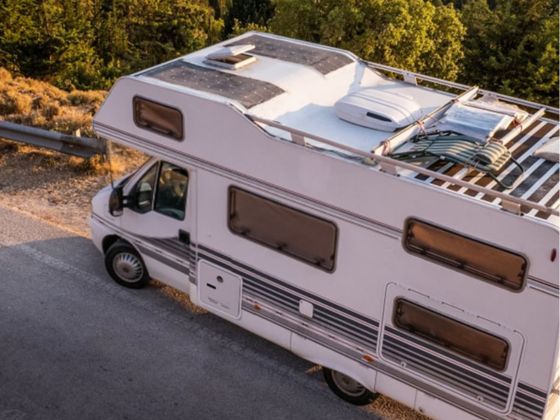
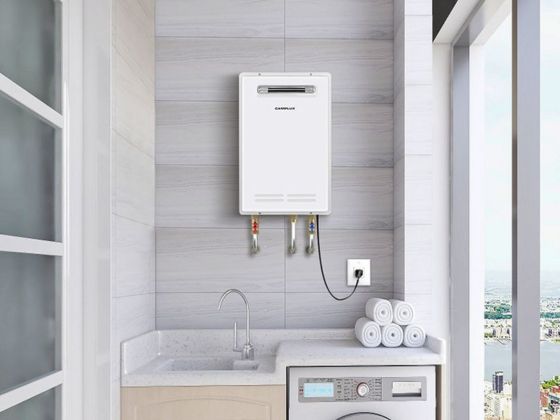


RV water heaters are an essential component of any recreational vehicle, providing hot water for showers, washing dishes, and other daily activities. However, like any other appliance, they can encounter issues that require troubleshooting and maintenance. By understanding the types and components of RV water heaters and following some simple maintenance tips, you can ensure that your water heater operates efficiently and reliably. In this article, we will discuss common issues with RV water heaters, troubleshooting tips, and preventive maintenance practices.

Key Takeaways
- Regularly inspect and clean the anode rod to prevent corrosion.
- Flush the water heater tank annually to remove sediment buildup.
- Check for leaks around the water heater and repair them promptly.
- Test the pressure relief valve to ensure it is functioning correctly.
- Check the power source, inspect the pilot light, and clean the burner assembly when troubleshooting RV water heater issues.
Understanding RV Water Heaters
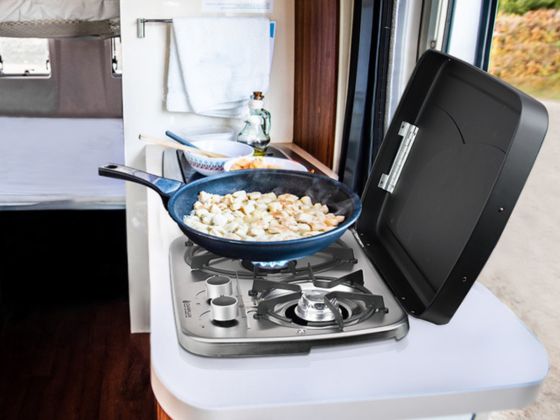
Types of RV Water Heaters
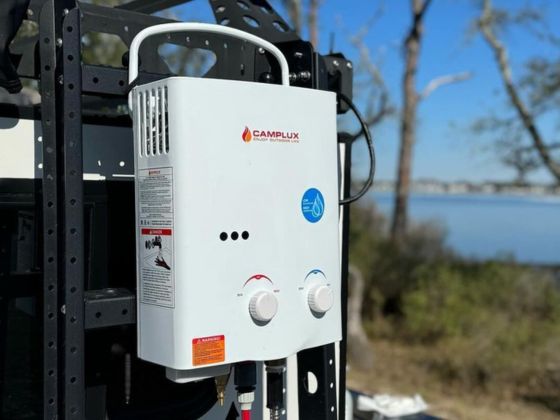
RV water heaters come in two main types: tankless and tank. Tankless water heaters, also known as on-demand water heaters, heat water as it flows through the unit. They are more energy-efficient and provide a continuous supply of hot water. On the other hand, tank water heaters store and heat a specific amount of water in a tank, which is then ready for use. Tank water heaters are more common in RVs and are easier to install and maintain.
When choosing a water heater for your RV, consider your specific needs and preferences. Tankless water heaters are compact and save space, making them ideal for smaller RVs. Tank water heaters, on the other hand, are more suitable for larger RVs or if you prefer a more traditional water heating system.
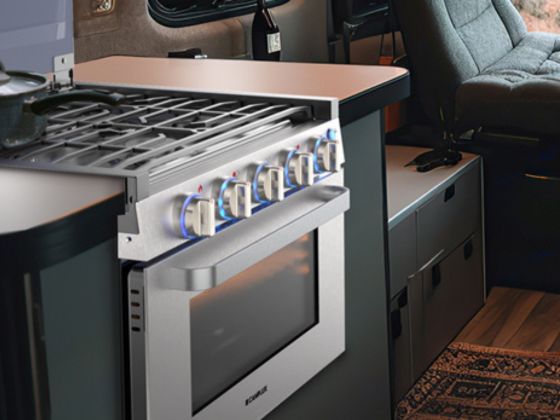
Components of an RV Water Heater
An RV water heater consists of several key components that work together to provide hot water for your RV. These components include:
- Tank: The tank is where the water is stored and heated. It is typically made of stainless steel or aluminum.
- Burner: The burner is responsible for heating the water in the tank. It is usually fueled by propane gas.
- Thermostat: The thermostat controls the temperature of the water in the tank. It can be adjusted to your desired temperature.
- Pressure Relief Valve: The pressure relief valve is a safety feature that releases excess pressure from the tank to prevent it from exploding.
Understanding these components is important for troubleshooting and maintaining your RV water heater.
Common Issues with RV Water Heaters
No Hot Water
If you're experiencing a lack of hot water in your RV, there are a few potential causes to consider:
-
Propane Supply: Check that you have enough propane in your tank and that the supply valve is open. Low propane levels or a closed valve can prevent the water heater from heating properly.
-
Faulty Ignition System: The ignition system may be malfunctioning, preventing the water heater from igniting and heating the water. Check for any loose connections or damaged components.
-
Thermostat Issues: The thermostat controls the temperature of the water heater. If it is set too low or is faulty, it may not allow the water to heat up to the desired temperature.
-
Sediment Buildup: Over time, sediment can accumulate in the water heater tank, reducing its efficiency. Flushing the tank regularly can help remove any sediment and improve the performance of the water heater.
-
Other Possible Causes: There may be other issues such as a faulty heating element or a malfunctioning control board. If the above steps do not resolve the problem, it is recommended to consult a professional for further troubleshooting.
Water Not Heating Properly
If you're experiencing issues with your RV water heater not heating properly, there are a few troubleshooting steps you can take to resolve the problem.
First, check the thermostat setting on your water heater. Make sure it is set to the desired temperature and adjust if necessary. Additionally, check the power source to ensure it is connected and functioning properly.
If the thermostat and power source are not the issue, the heating element may be faulty. In this case, you may need to replace the heating element to restore proper heating.
Remember, it's always a good idea to refer to your RV water heater's manual for specific troubleshooting instructions and safety precautions.
If you're unsure or uncomfortable performing these troubleshooting steps, it's recommended to consult a professional RV technician for assistance.
Leaking Water Heater
A leaking water heater can be a common issue in RVs. It is important to address this problem promptly to prevent further damage. Here are some troubleshooting tips to help you resolve a leaking water heater:
-
Check the connections: Ensure that all the connections, including the inlet and outlet pipes, are tight and secure. Loose connections can cause water leakage.
-
Inspect the pressure relief valve: The pressure relief valve is designed to release excess pressure from the water heater. If it is faulty or not functioning properly, it can cause water to leak. Check the valve for any signs of damage or debris.
-
Replace the faulty parts: If you have identified a specific component that is causing the leak, such as a cracked tank or a damaged valve, it may need to be replaced. Consult the manufacturer's instructions or seek professional help for the replacement process.
Remember, addressing a leaking water heater promptly can help prevent further damage and ensure the proper functioning of your RV's water heating system.
Troubleshooting Tips for RV Water Heaters

Check the Power Source
When troubleshooting your RV water heater, one of the first things you should check is the power source. Make sure that the heater is properly connected to a reliable power supply. If you are using an electric water heater, check if the circuit breaker is tripped or if there is a blown fuse. For propane water heaters, ensure that the gas supply is turned on and that the propane tank has enough fuel. It's also a good idea to inspect the power cord or gas line for any signs of damage or wear. By ensuring a stable power source, you can eliminate power-related issues as the cause of your water heater problems.
Inspect the Pilot Light
When troubleshooting an RV water heater, it is important to inspect the pilot light. The pilot light is responsible for igniting the burner and heating the water. If the pilot light is not lit or is not functioning properly, the water heater will not work.
To inspect the pilot light, follow these steps:
- Make sure the gas supply to the water heater is turned on.
- Locate the pilot light assembly, which is usually located near the bottom of the water heater.
- Check if the pilot light is lit. If it is not, try relighting it according to the manufacturer's instructions.
- If the pilot light is lit but keeps going out, there may be an issue with the thermocouple or gas valve. In this case, it is recommended to consult a professional for further assistance.
Remember, a properly functioning pilot light is essential for the RV water heater to work efficiently and provide hot water.
Flush the Water Heater Tank
Flushing the water heater tank is an important maintenance task that helps remove sediment and mineral buildup. This buildup can reduce the efficiency of the water heater and lead to issues such as decreased hot water output or even damage to the heating element. To flush the water heater tank:
- Turn off the power supply to the water heater.
- Close the cold water supply valve.
- Attach a hose to the drain valve at the bottom of the tank.
- Place the other end of the hose in a suitable drainage area.
- Open the drain valve and allow the water to flow out until it runs clear.
- Close the drain valve and remove the hose.
It is recommended to flush the water heater tank at least once a year to maintain optimal performance and extend the lifespan of the water heater. Regular flushing helps prevent sediment buildup and ensures that the water heater operates efficiently. Remember to follow the manufacturer's instructions for your specific RV water heater model.
Clean the Burner Assembly
When cleaning the burner assembly of your RV water heater, it is important to follow these steps:
- Turn off the power and gas supply to the water heater.
- Remove the access panel to gain access to the burner assembly.
- Carefully remove the burner assembly, taking note of its position and orientation.
- Inspect the burner assembly for any signs of dirt, debris, or corrosion.
- Use a soft brush or compressed air to gently clean the burner assembly.
- Ensure that all parts are thoroughly cleaned and free from any obstructions.
Remember to always refer to the manufacturer's instructions for specific cleaning and maintenance guidelines.
Tip: Regularly cleaning the burner assembly can help improve the efficiency and performance of your RV water heater.
Preventive Maintenance for RV Water Heaters
Regularly Inspect and Clean the Anode Rod
Regularly inspecting and cleaning the anode rod is an essential maintenance task for RV water heaters. The anode rod is designed to attract corrosive elements in the water, protecting the water heater tank from rust and corrosion. Over time, the anode rod can become depleted and less effective, so it's important to check it regularly.
To inspect the anode rod, follow these steps:
- Turn off the power to the water heater and allow it to cool down.
- Locate the anode rod, which is usually located on the top of the water heater.
- Remove the anode rod using a wrench or socket.
- Inspect the rod for signs of corrosion or depletion.
- If the rod is heavily corroded or less than 50% remaining, it should be replaced.
Cleaning the anode rod is a simple process:
- If the anode rod is still in good condition, clean it with a wire brush to remove any built-up sediment.
- Rinse the rod with water to remove any debris.
- Reinstall the anode rod and tighten it securely.
Regularly inspecting and cleaning the anode rod will help extend the lifespan of your RV water heater and ensure it continues to function properly.
Flush the Water Heater Annually
Flushing the water heater tank annually is an important maintenance task that helps to remove sediment and mineral buildup. This buildup can reduce the efficiency of the water heater and lead to potential issues. To flush the water heater, follow these steps:
- Turn off the power supply to the water heater.
- Attach a hose to the drain valve at the bottom of the tank.
- Place the other end of the hose in a suitable drainage area.
- Open the pressure relief valve to allow air into the tank.
- Open the drain valve and let the water flow out until it runs clear.
- Close the drain valve and remove the hose.
- Close the pressure relief valve.
- Turn on the power supply to the water heater.
By flushing the water heater annually, you can help maintain its efficiency and prolong its lifespan. It is recommended to consult the manufacturer's instructions for specific guidance on flushing your RV water heater.
Check for Leaks
When troubleshooting your RV water heater, it's important to check for any leaks. Leaks can indicate a problem with the water heater and should be addressed promptly. Here are a few steps to help you check for leaks:
- Inspect the area around the water heater for any signs of water leakage, such as puddles or dampness.
- Check the pressure relief valve for any leaks. This valve is designed to release excess pressure from the water heater, but if it's leaking constantly, it may need to be replaced.
- Examine the connections and fittings of the water heater for any signs of leakage. Tighten any loose connections or replace faulty fittings.
Remember, addressing leaks early can prevent further damage to your RV water heater and ensure it functions properly. If you're unsure about how to fix a leak or if the leak persists, it's best to consult a professional RV technician for assistance.
Test the Pressure Relief Valve
Testing the pressure relief valve is an important step in maintaining your RV water heater. This valve is designed to release excess pressure in the tank to prevent damage or explosion. To test the pressure relief valve:
- Make sure the water heater is turned off and the tank is cool to the touch.
- Locate the pressure relief valve, which is usually located on the side or top of the water heater.
- Carefully lift the lever on the valve to release a small amount of water. If water flows freely and then stops when you release the lever, the valve is working properly.
- If the valve does not release water or if water continues to flow after releasing the lever, it may be faulty and should be replaced.
Remember to perform this test regularly to ensure the pressure relief valve is functioning correctly and to prevent potential safety hazards.
Conclusion
In conclusion, regular maintenance of your RV water heater is essential to ensure its optimal performance and longevity. By following these simple tips, such as flushing the tank, checking the anode rod, and inspecting the pressure relief valve, you can prevent common issues and extend the lifespan of your water heater. Remember to consult the manufacturer's manual for specific instructions and always prioritize safety. With proper maintenance, you can enjoy hot water on your RV adventures for years to come.
Frequently Asked Questions
How often should I flush my RV water heater?
It is recommended to flush your RV water heater at least once a year to remove sediment and mineral buildup.
Why is my RV water heater not producing hot water?
There could be several reasons for this issue, such as a faulty heating element, a tripped circuit breaker, or a malfunctioning thermostat. It is best to troubleshoot the specific components to identify the exact cause.
How do I clean the burner assembly of my RV water heater?
To clean the burner assembly, you can use a soft brush or compressed air to remove any debris or dust. Be sure to turn off the gas supply and allow the burner assembly to cool down before cleaning.
What should I do if my RV water heater is leaking?
If your RV water heater is leaking, it is important to identify the source of the leak. It could be a faulty pressure relief valve, a damaged water tank, or loose connections. Depending on the severity of the leak, you may need to replace the faulty component or seek professional repair.
Can I use a tankless water heater in my RV?
Yes, you can use a tankless water heater in your RV. Tankless water heaters are compact and energy-efficient, making them a popular choice for RV owners. However, it is important to ensure that your RV's electrical and plumbing systems can support the requirements of a tankless water heater.
Why is the pilot light on my RV water heater not staying lit?
A pilot light that does not stay lit could be a sign of a faulty thermocouple. The thermocouple is a safety device that detects whether the pilot light is lit and allows the gas valve to open. If the thermocouple is malfunctioning, it may need to be replaced to ensure the pilot light stays lit.